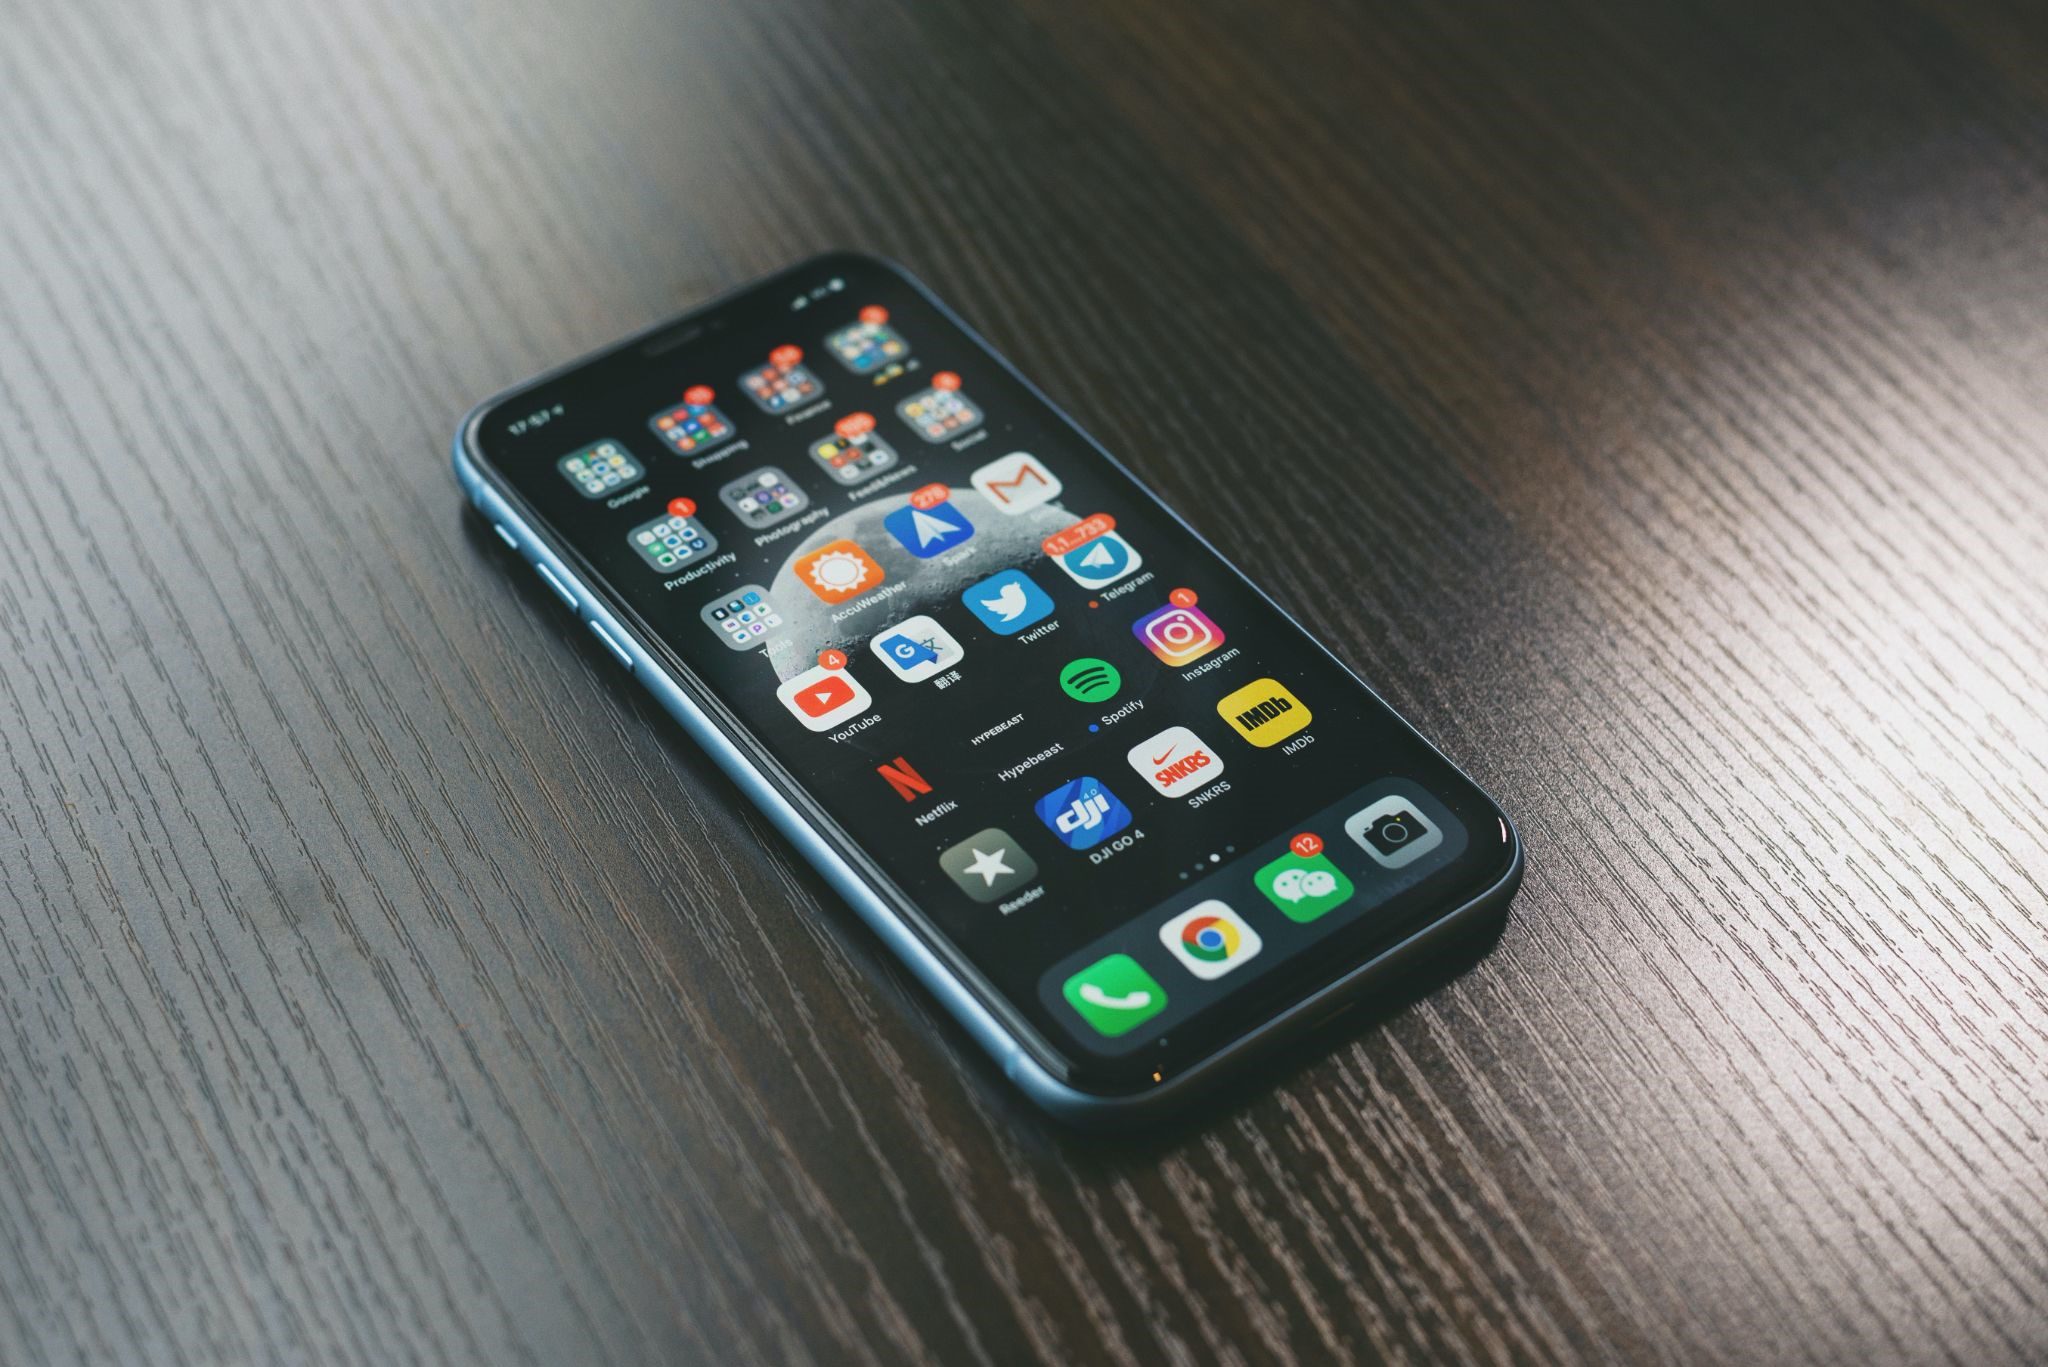
As we all know too well, iOS is not exactly open when it comes to handling various files. Even things that seem so simple, like an individual ringtone, can be a bit more complicated than you might think. In general, you have two options under iOS to integrate your own ringtone into the system.
Ever since the iPhone has been around, the question of great new ringtones has been burning. Unlike many other smartphone manufacturers who simply allow using an MP3 file, Apple has put a stop to this hustle and bustle.
According to Apple’s request, ringtones must be purchased in the so-called “Tone Store”, a special sub-category of the iTunes store. The prices are exorbitant: For example, 99 cents are due for a one-second R2D2 beep – just like for all other ringtones.
That doesn’t have to be the case: if you don’t shy away from a little work, you can easily create and transfer any ringtone to iPhone without iTunes from your own music and sound collection.
On the one hand, you can choose the route via iTunes, on the other hand, you can do the whole thing directly on the iPhone. The step via iTunes is less time-consuming but requires that you also manage your iPhone via iTunes.
Choose an alternative way
Apple has made a change when transferring ringtones via iTunes, you can no longer simply drag and drop ringtones on the Mac to the iPhone via iTunes. This is still possible with Windows. It works as follows, but it is also important that you have the correct format:
- An audio file in .m4r format is required. This can be created relatively easily from any audio file, for example, via an online service. There are many websites available that you can use to change the format of your file. On these websites, you can set various parameters, including tweaking the quality of the file. Please note that the file must be shortened to 39 seconds if it is too long.
Once the conversion process is complete, the transfer to the iPhone via iTunes can begin.
The iPhone must be connected to iTunes, it doesn’t matter whether you synchronize via WLAN or use a cable.
Here comes the challenge. If you drag and drop the ringtone into iTunes, you only get an error message that it cannot be imported.
A simple trick can help here: Simply copy the ringtone using cmd + c and then paste it again using cmd + v in iTunes in the Sounds area (ctrl + c and ctrl + v under Windows). No error message, just a new ringtone on the iPhone.
iTunes now only has to synchronize with the iPhone and you will find your own ringtone to choose from in the settings. The great art is simply not to simply use drag & drop, as has been possible over the years without any problems.
Setting a ringtone without iTunes
If you don’t want to use iTunes but still want to use an individual tone, you can do this directly on the iPhone.
Only the import of songs looks a bit more confusing because you have more access to storage locations. In principle, songs – if not protected – can be imported, adjusted in GarageBand, and directly created a ringtone.
Practical tip: The music to be used can also come from the new Files app, which you can save from just about any other app. This also means that you can, for example, save a sound file from a messenger and then import it into GarageBand.
In a nutshell: You import the desired song into the Track View of GarageBand – make sure that the file is not protected. Access via iCloud Drive is also possible, which makes it much easier to make files available. Adjust the desired ringtone length and then simply export the work as a ringtone.
Want a better method instead?
If iTunes doesn’t have your favorite track available or you don’t feel like spending $1 for a few seconds of sound, you can simply convert any MP3 to an iPhone ringtone in a precisely correct format. To set iPhone custom ringtone in just a few clicks, use WALTR 2 application.
WALTR 2 is a free ringtone maker that instantly re-formats your song into an M4R format which iPhone ringtones use. Upload your track on your computer, select the best 30-second fragment and have it handy. All you need to do is to launch WALTR 2 and let it do the conversion instamagically. This way you don’t have to trim it with iTunes.
By the way, ringtones transfer is one of the many many functions of WALTR 2. You can also use it to transfer ebooks, music, videos, and lots of other files to your iPhone in just a few clicks, without worrying about file format or compatibility issues.
Conclusion
With an individual iPhone ringtone, the next incoming call will always be a pleasure. However, using your own ringtones is a bit more difficult with Apple than with an Android smartphone. But don’t worry: there are ways and means for iOS devices too. For example, you can buy ringtones ready-made from the iTunes Store or – if you like being creative – create them yourself. This article tells you everything about how to do it and what methods are available for this.