What to Do When Your Android Says “Authentication Required” After an Update
Introduction: The Post-Update Panic
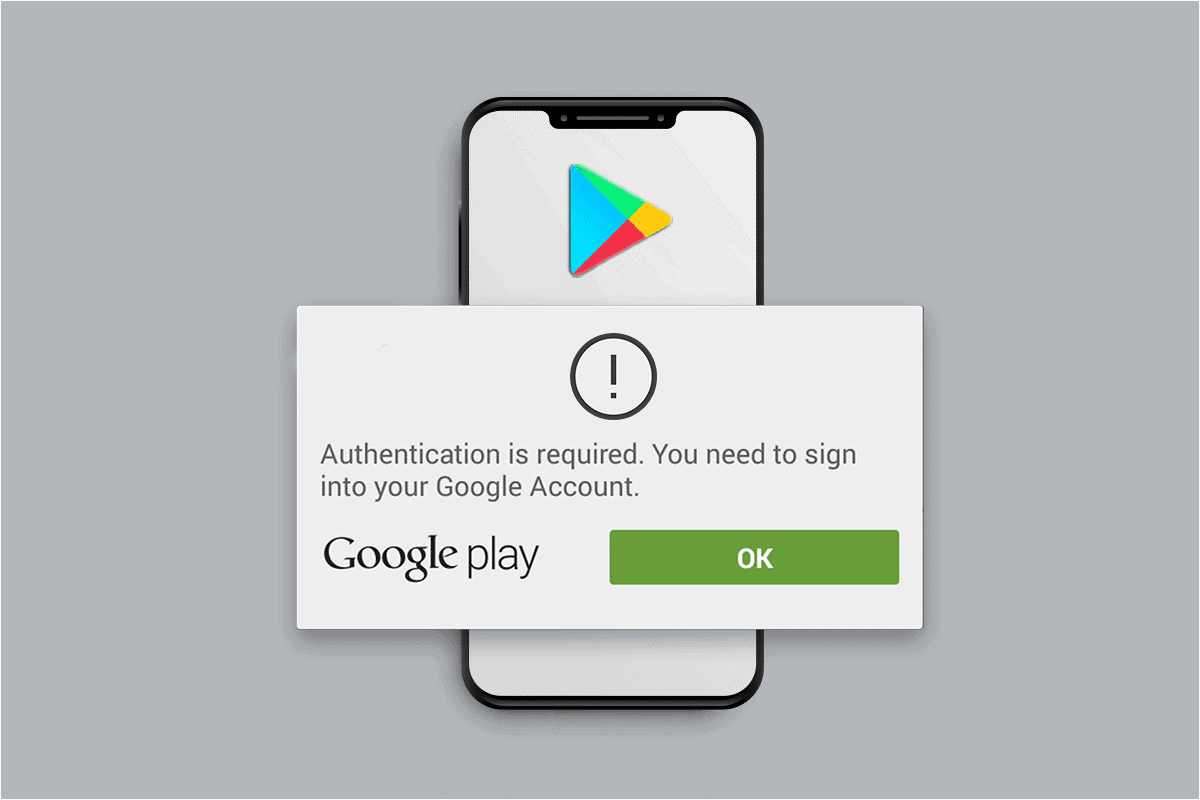
You just updated your Android phone, excited to use the new features, but now it keeps showing “Authentication Required.” You input your Google password, but nothing happens. After major Android updates, security refreshes, botched app/system syncs, and outdated credentials caches might cause this. Your phone attempts to validate your Google account again, but malfunctions or outdated data prevent it. Fortunately, this issue is usually fixable. This article covers simple tests, soft resets, re-adding your Google account, Dr.Fone – Screen Unlock (Android), and factory resets as a last option. Follow these methods to unlock your Android phone safely.
First Steps: Immediate & Simple Checks
The “Authentication Required” message on your Android phone after an update might be aggravating. Check simple things before trying sophisticated solutions.
Rule Out the Obvious
Check internet connection first. Your phone requires a stable Wi-Fi or mobile data connection to connect to Google servers. If the connection is weak or intermittent, authentication may fail. Check the date/time settings next. Incorrect settings can inhibit secure communications. In your phone’s settings, check the date and time or enable “Automatic date & time” to sync with the network.
The “Correct” Password Problem
Despite entering the correct password, the phone may not accept it. Log in to your Google account on another computer or phone at accounts.google.com to confirm. Your account is up to date, and the password is correct. Check if you updated your Google password recently. The old password in your phone’s cache may still work. This lag can cause authentication errors. Understanding this prevents panic and directs you to the proper option.
Method 1: The Soft Reset (Clearing Cache)
The first safe approach to fix an unending “Authentication Required” loop on your phone is a soft reset. Let’s see how to: Step 1. Completely power down your phone. Power it down completely. Step 2. Next, boot into “Recovery Mode.” Most phones require you to press and hold the Power and Volume Up buttons until the logo appears on the screen. Step 3. Recovery Mode displays a minimal menu. Change choices with the volume keys. Go to “Wipe Cache Partition.” 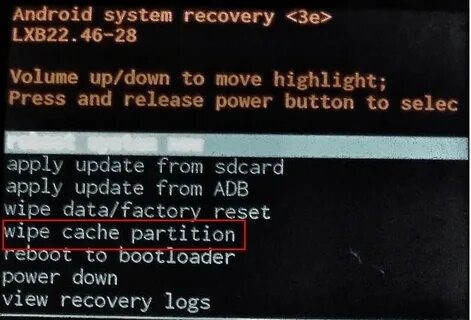 Step 4. Select this option by pressing Power after highlighting it. Your phone will clear its cache in a few seconds. Step 5. Select “Reboot System Now” to restart your phone normally.
Method 2: Remove and Re-add the Problematic Google Account
If clearing the cache didn’t work, try deleting and re-adding your Google account. This simple solution only works if you can open your phone’s Settings section. Give your account a “refresh.” After uninstalling the account and signing in again, your phone reconnects to Google’s servers. It usually fixes the “Authentication Required” problem. Step-by-Step: Step 1. Launch your phone’s Settings. Visit Accounts (sometimes called Passwords & Accounts or Users & Accounts). Step 2. Tap the “Google Account” with the error. Step 3. Choose “Remove Account” and confirm. This deletes account data from your phone, not Google’s servers. 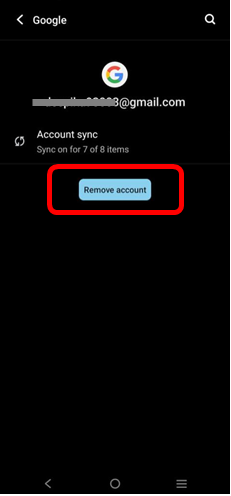 Step 4. To clear old data, restart your phone. Step 5. Go to “Settings > Accounts > Add Account > Google” after restarting. Resign in using your email and password.
Method 3: Using Dr.Fone – Screen Unlock (Android) as a Definitive Solution
Dr.Fone – Screen Unlock (Android) is the best option if previous techniques fail or your phone is completely locked and you cannot enter Settings. This utility eliminates PIN, password, pattern, fingerprint, and Face ID screen locks and breaks the post-update “Authentication Required” cycle. It supports thousands of Android devices like Samsung, Huawei, Xiaomi, OPPO, Vivo, OnePlus, and others. The major benefit of Dr.Fone is that it requires no advanced expertise. Some Samsung and LG handsets allow you to unlock the screen without losing data. The process is explained. It may reset most other brands’ phones, but you’ll get access shortly. Step-by-Step Guide with Dr.Fone: Step 1. Download and install Dr.Fone – Screen Unlock. Connect your Android phone to the PC via USB and select “Screen Unlock” in the toolbox.  Step 2. Choose “Android” from the selections and click “Unlock Android Screen.” Samsung devices may allow unlocking without losing data.
 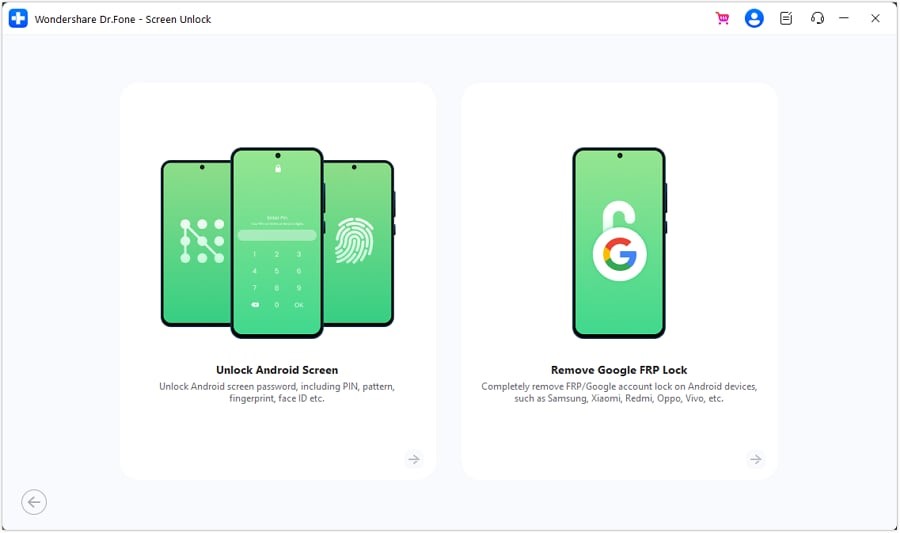 Step 3. Choose your phone brand and model. When asked, type “000000” to confirm. Dr.Fone will help you enter “Recovery Mode or Download Mode,” depending on your phone.
 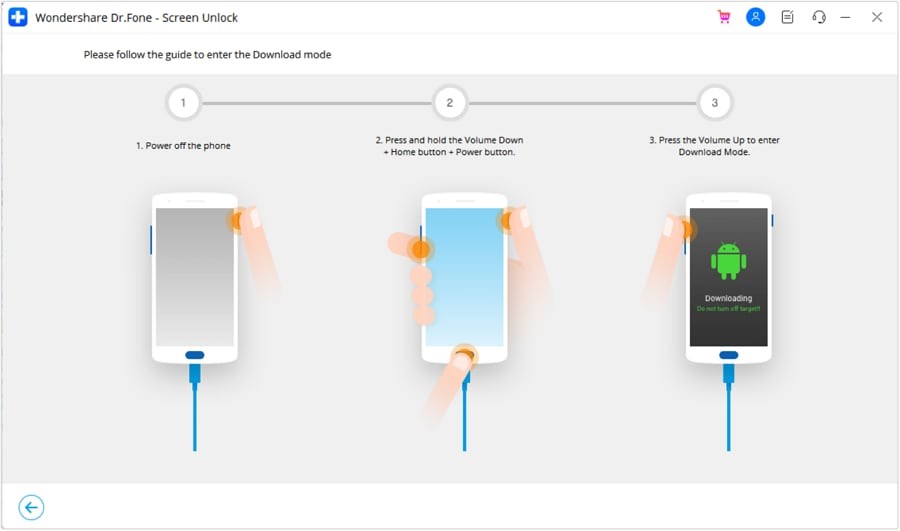 Step 4. Your phone will be unlocked after the tool downloads the right files. Your device will be unlocked and functional in minutes.
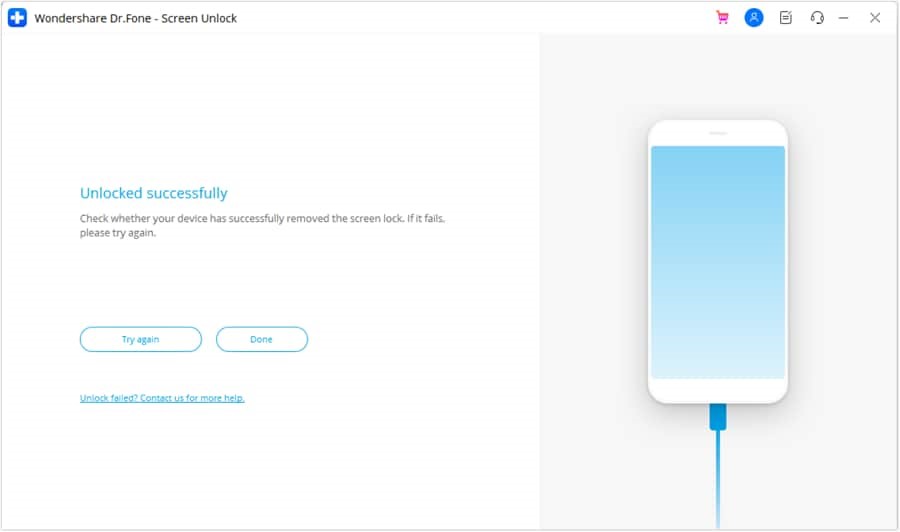
Method 4: The Nuclear Option – Factory Reset
Factory reset is the last resort. This is nicknamed the “nuclear option” because it completely erases all data on your phone. Photos, videos, apps, chats, and personal data will be destroyed. Once reset, your phone will be restored to its original state. This procedure should only be used if you have a recent backup on Google Drive or another storage service. Let’s see how: Step 1. Switch off your phone. Step 2. Hold Power + Volume Up until the recovery menu appears. (Some brands have alternative button combinations.) Step 3. Scroll to “Wipe data/factory reset” using the volume keys and confirm with the Power button. 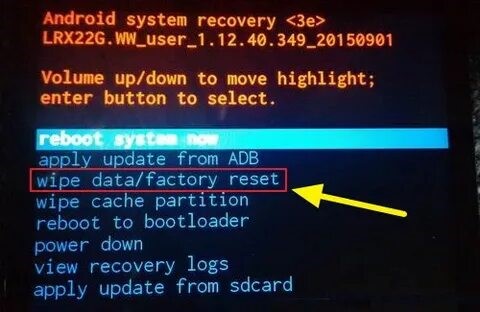 Step 4. Answer yes when asked to confirm. Step 5. Select “Reboot system now” after the operation finishes. Restarting the phone removes the authentication lock. Set it up as new. During setup, you can restore programs, folders, and contacts from backups.
Comparison Table: Choosing the Right Solution
By now, you’ve seen multiple “Authentication Required” fixes. Each works in different conditions. This brief table compares choices to simplify things.
| Method | Best For | Difficulty | Data Loss? | Key Requirement |
| Soft Reset | Minor software glitches | Easy | No | Basic phone knowledge |
| Re-adding Account | Partial phone access | Moderate | No (if done right) | Ability to access Settings |
| Dr.Fone – Screen Unlock | Complete lockouts, failed simple fixes | Easy (Guided) | Yes | A computer and a USB cable |
| Factory Reset | When all else fails, data is backed up | Moderate | Yes | Backup available |
Conclusion
The “Authentication Required” issue that occurs after an Android upgrade is irritating but often fixable. Every issue can be resolved using Dr.Fone, a factory reset, deleting the cache, or re-adding your Google account. Begin with simple steps and progress as needed. Update account information and backup data first. That way, you can easily recover from future issues.
About author:
 Shahid Latif is an SEO specialist and tech writer with over three years of experience in On-Page, Off-Page, and Technical SEO. He combines his expertise in search optimization with a passion for writing about technology, digital marketing, and online business growth. His work focuses on driving sustainable organic traffic and building authority through guest posting and high-quality content. Connect with him at shahidlatifseo@gmail.com.