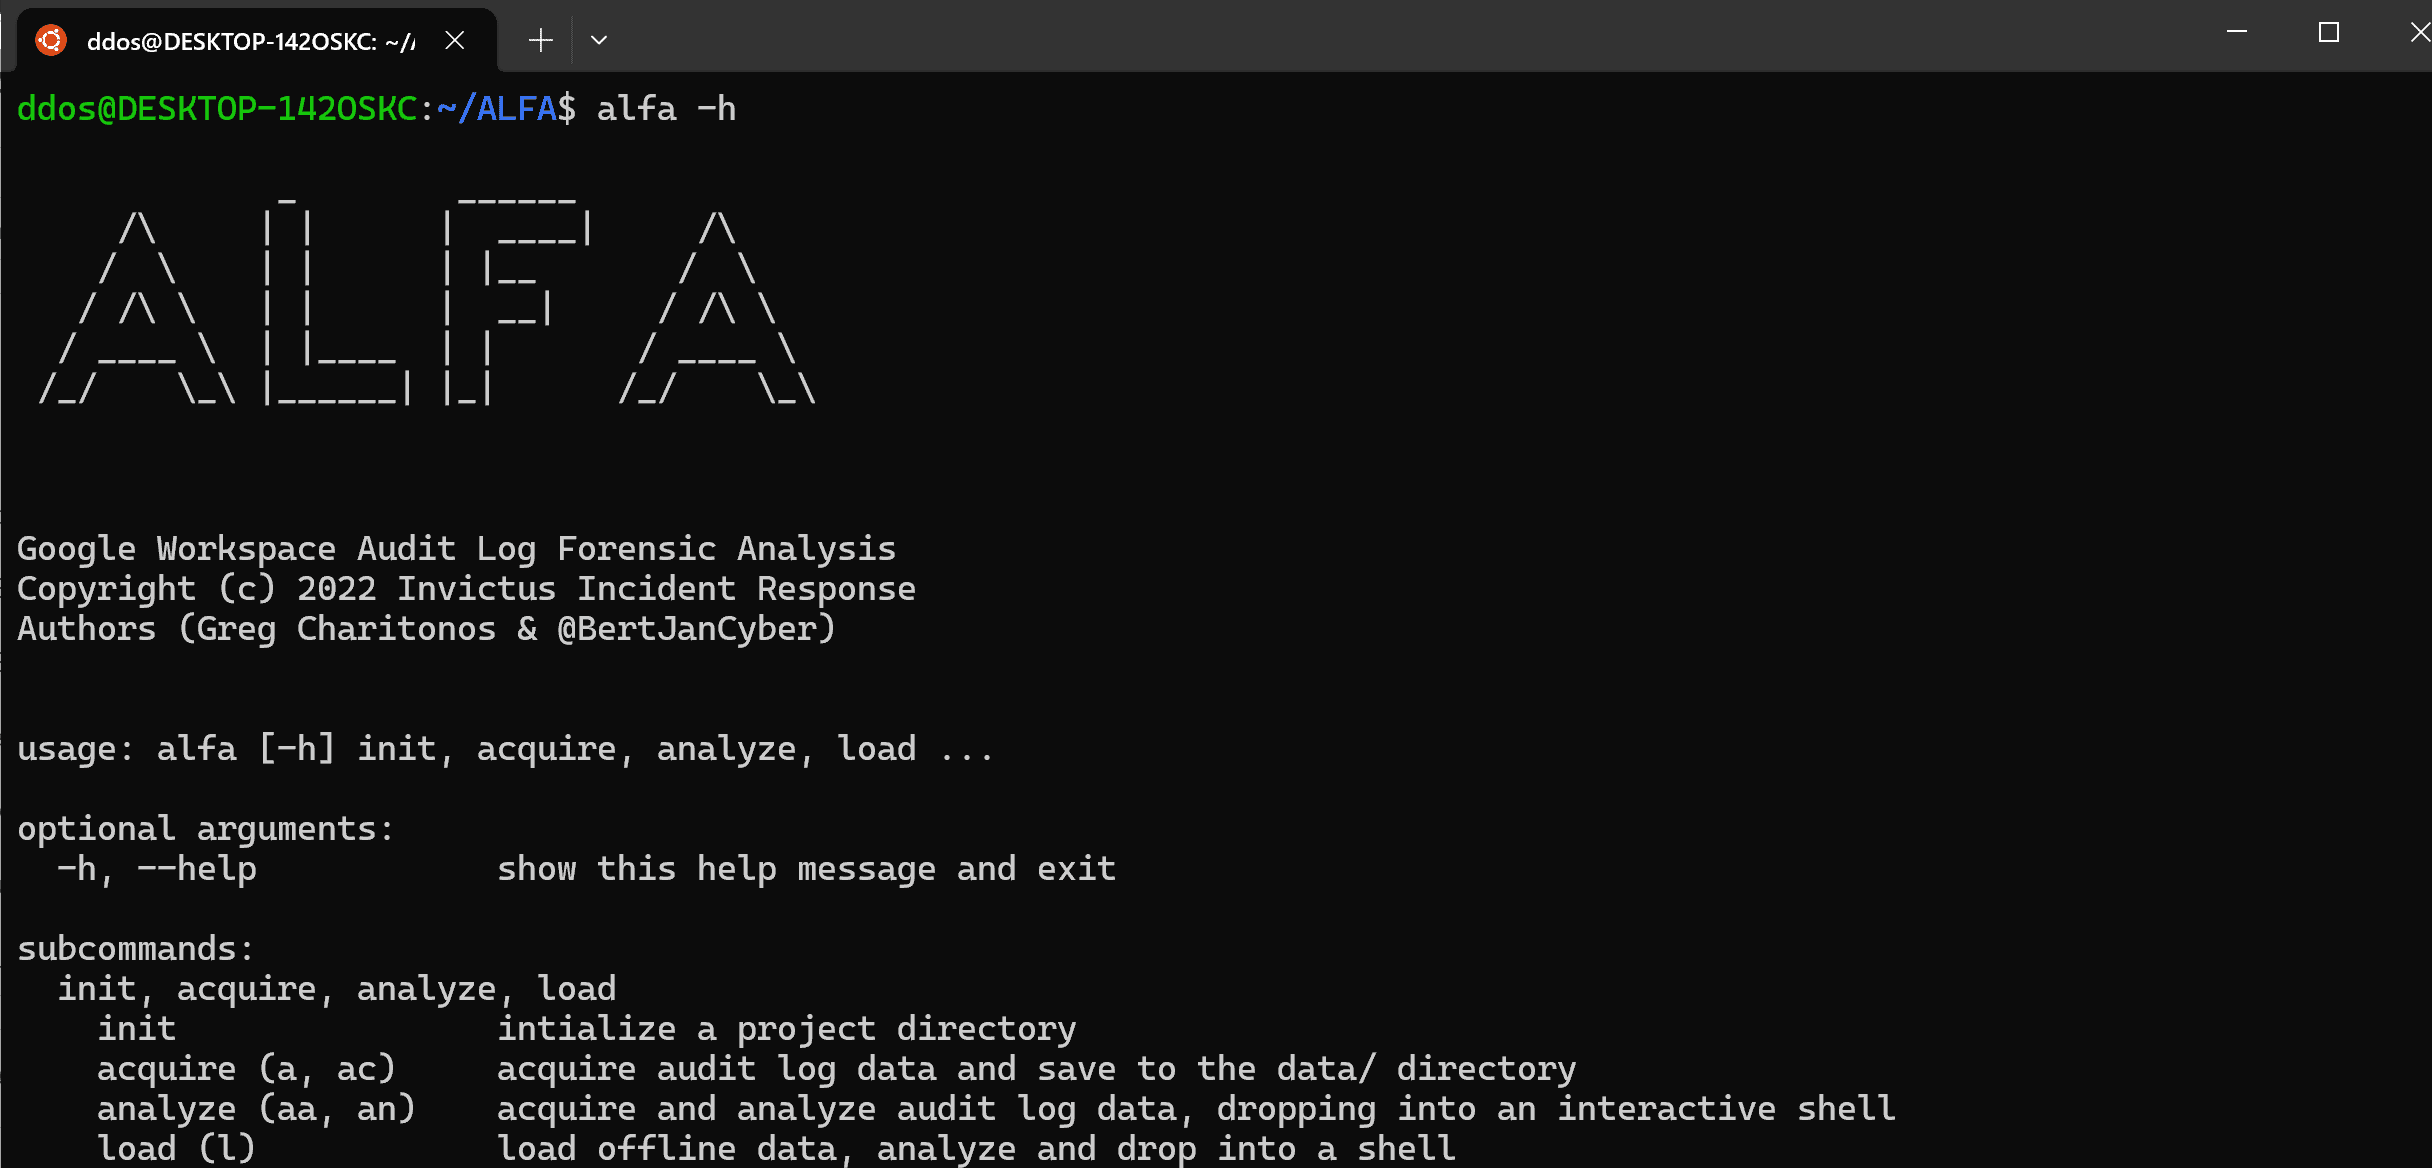
ALFA – Automated Audit Log Forensic Analysis for Google Workspace
You can use this tool to acquire all Google Workspace audit logs and to perform automated forensic analysis on the audit logs using statistics and the MITRE ATT&CK Cloud Framework.
ALFA has 3 options as explained below:

1. ALFA Acquire
Acquire all Google Workspace Audit Logs
- From inside “project_x” (or whatever name you chose before) run
alfa acquire - ALFA will now grab all logtypes for all users and save them to a subdirectory in the ‘data’ folder a .json file will be generated per logtype
- To see what other options you have type
alfa acquire -h
Advanced acquisitions with ALFA
You can do all kinds of filters to limit the data you are acquiring some examples are below:
- Only grab the ‘admin’ logtype
alfa acquire --logtype=admin - Save the output to a specific folder
alfa acquire -d /tmp/project_secret - Only grab logs for a specific user
alfa acquire --user=insert_username - Grab logs within a defined timeperiod
alfa acquire --start-time=2022-07-10T10:00:00Z --end-time=2022-07-11T14:26:01Zthe timeformat is (RFC3339)
Now you know how to acquire data time for some fancy stuff to unleash the power of ALFA.
2. ALFA Analyze
The analyze function automatically analysis all audit log data for a given Google Workspace to identify suspicious activity.
How this works
-
Categorization Each individual event is categorized based on a mapping that is made alfa/config/event_to_mitre.yml. If an event matches that lists it is mapped to a technique that is part of the MITRE ATT&CK Cloud Framework (https://attack.mitre.org/matrices/enterprise/cloud/).
-
Scoring Next ALFA will analyze all mapped events in chronological order to try to identify kill chains or logical attack paths. E.G. An event that is mapped to the Persistence phase followed by an event that is mapped to the Credential Access phase will result in a higher score.
-
Result Ultimately ALFA will give the analyst a list of identified ‘subchains’ that can be further analyzed.
How to use ALFA analyze?
- First run
alfa analyzewhich will automatically identify (or not if none were found). It will also drop you in a shell where you can perform follow up activities. - To get more information on a given subchain you can simply run A.subchains() which will show you the chain using the following format (number_of_first_event_in_chain,number_of_last_event_in_chain,killchain_score). Where a score 1 means a perfect chain was identified and the closer it gets to 0 the weaker the chain is.
- In order to access the suspicious events that caused this chain use
A.aoi(export='activities.json')to export all identified subchains to a file, that you can then use for further analysis.
3. ALFA Load
Load data from local storage
From Local Storage
Use A = Alfa.load([logname]) to load and analyse logs from local storage Use A = Alfa.load('all') to load all logs. Alfa filters benign activities out, by default. To load all activities and events, unfiltered, use Alfa.load([logname], filter=False).
Making Changes
Adding new event mappings.
It is possible to edit the config/event_to_mitre.yml file directly, but ill-advised. The layout of this file is unintuitive. Instead, consider making amendments to utils/mappings.yml. Then repopulate config/event_to_mitre.yml by running utils/event_mitre_remap.py
Amending Kill Chain Discovery methods
The kill chain discovery function utilizes hard-coded constants. These can be found in the config/config.yml. Forensic analysts are advised to review the values and make amendments for their workspace as necessary. These constants are responsible for both the kill chain statistic (kcs) and kill chain discovery (subchains).
Install
Copyright (c) 2022 Invictus Incident Response