hashview v0.8.1 beta releases: web front-end for password cracking & analytics

Hashview is a tool for security professionals to help organize and automate the repetitious tasks related to password cracking. Hashview is a web application that manages hashcat (https://hashcat.net) commands. Hashview strives to bring consistency in your hashcat tasks while delivering analytics with pretty pictures ready for ctrl+c, ctrl+v into your reports.
Changelog [v0.8.1-Beta]
Added
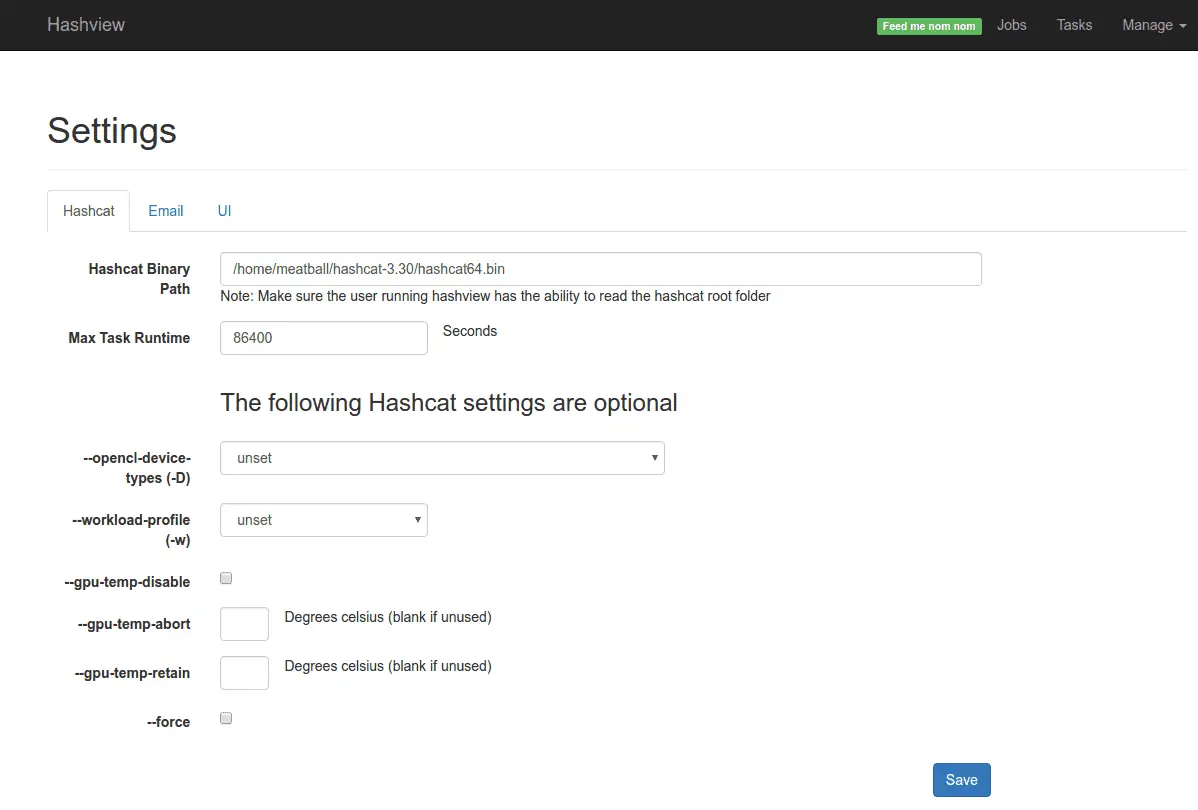
- Added support for max runtimes both for Jobs and Tasks. Admins can set the value (in hours) with = 0 being indefinate.
- Added some sanity checks for new hashes. Probably need to go back and update the rest.
- Added job priority levels. If enabled by the administrator in the settings pane, users can select the priority in which their job gets handled by agents. If disabled. all jobs are treated as first started, first processed.
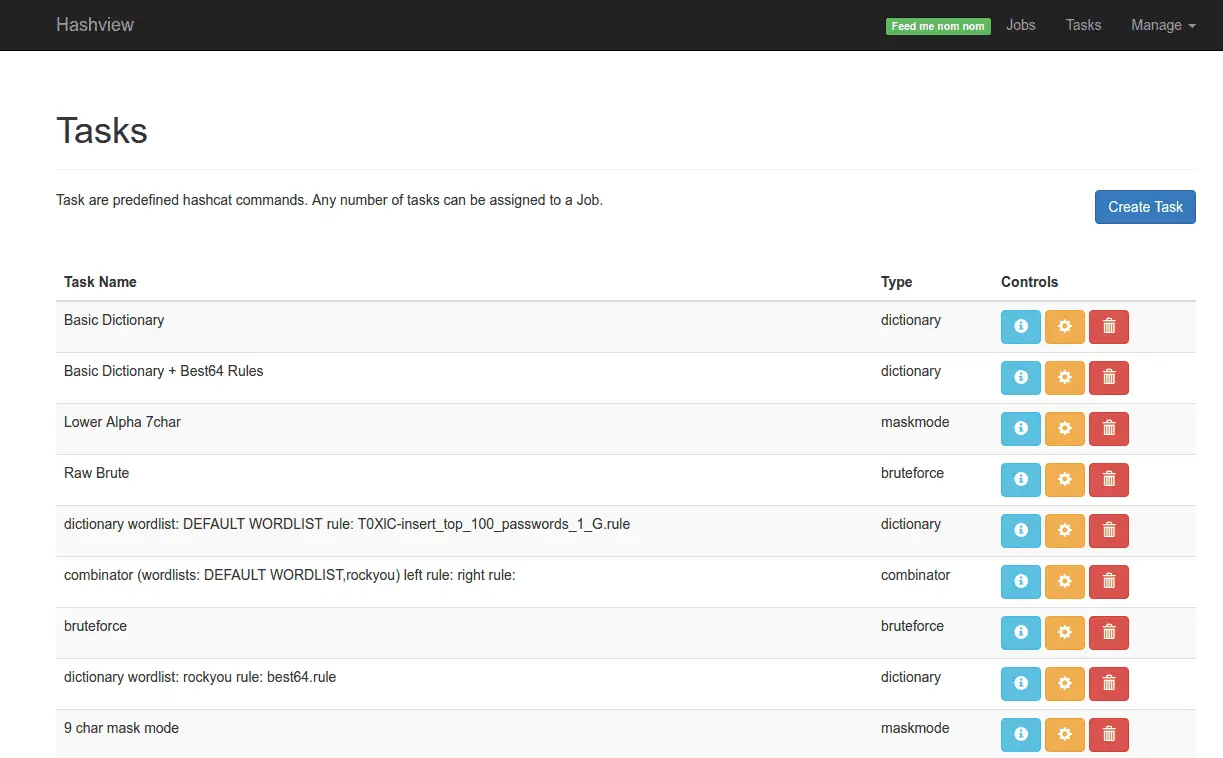
- Added ability to Edit existing Tasks
- Added protections to prevent users from editing a job while its currently running
- Added ability for users to generate user API key to interface with the hashview server api
- Added new search API
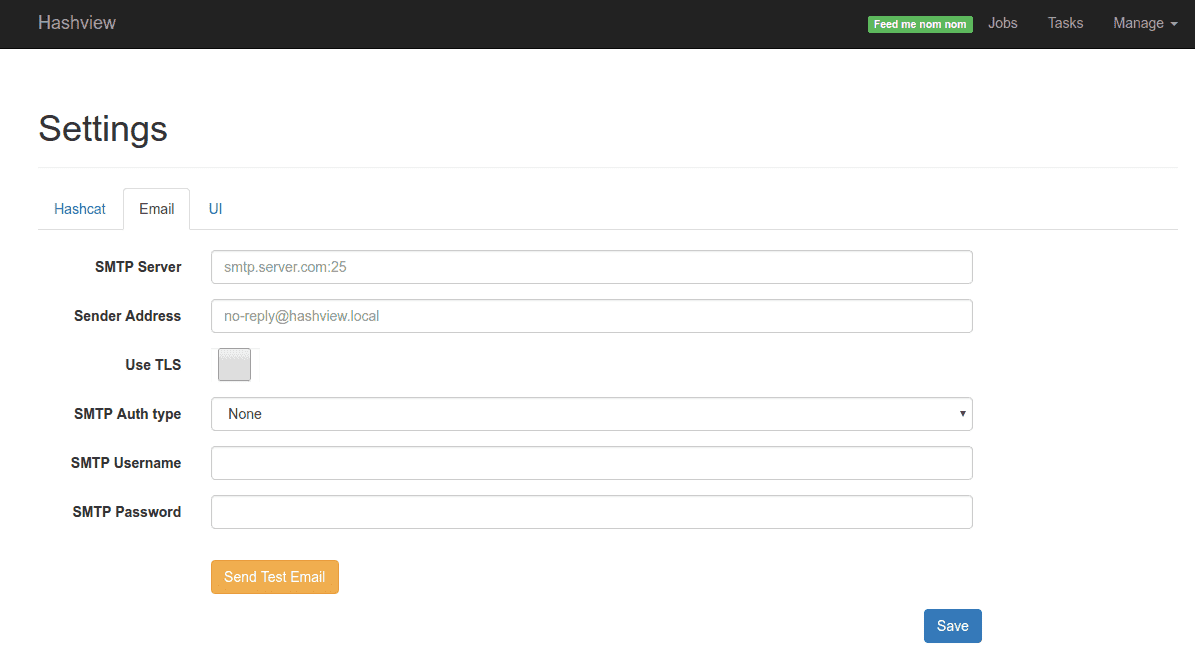
- Added Test Email button to users profile
- Added Test Email button to settings page as well
- Added Analytics Table to display accounts where user:password are the same
- Added Analytics Table to display Recovered Hashes rate (as opposed to recovered accounts)
Changed
- Swapped instances of
timefordatetime - Improved performance when deleting hashfiles. Its much much quicker now
- Changed homepage display to split queued jobs and running jobs. Order is now based on queued_at time and priority
- Refactored the Selection, Parsing, validation and assignment of hashfiles, and their types. Should hopefully be clearer
- Modifed API authentication to allow for user and agent auth
Fixed
- Fixed issue where listing hashfiles w/o a valid hash_type resulted in an error preventing access to the page
Installation
Server Requirements
- Python 3.7+
- Mysql DB installed with known username/password
- Access to an SMTP email service (used for password resets and notifications)
Agent Requirements
- Python 3.7+
- Hashcat 6.2.x+
Installation
Follow these instructions to install Hashview Server on the Ubuntu server. In theory, Hashview should be able to run on any *nix system, but the dev’s only installed/tested on Debian/Ubuntu.
Install mysql
Configure MySQL
Log into your mysql server and create a dedicated user for hashview. Hashview can run as root, but doesn’t need to. And since we practice what we preach. we should use a lower priv account for this. If you’re installing hashview on a different server than the system where the mysql db is running on, adjust the account creation.
Install Hashview Server
The following are to install hashview after the mysql db has been set up.
4) Log into your hashview server
Navigate to your server, the default port is 8443. https://IP:8443
(note) Because hashview is installed with a self-signed certificate, you will be prompted about it being invalid. You’re welcome to use properly signed certs by replacing the files under hashview/hashview/control/ssl/
Once logged in, before you can start cracking hashes, you need to install a Hashview-Agent.
Installing Hashview-Agent
After you’ve installed hashview you will need to install a hashview-agent. The agent can run on the same system as hashview but doesn’t have to.
1) Log in to hashview as an Administrator
2) Navigate to Agents Menu
3) Click Download Agent to get a .tgz package of the hashview-agent
4) Move the agent to the system you’d like to run it on
5) Install Agent
You will need to decompress the package and run the hashview-agent.py script. Upon initial execution, it will prompt you for information about your hashview server.
6) Once running, you (or another admin) will need to navigate back into Hashview->Manage->agents and approve the agent.
Screenshot

Author:
- @caseycammilleri
- @jarsnah12