 Do Son
Migrating Outlook data files (PST or OST) to Office 365 (Microsoft 365) requires careful preparation to ensure a successful mailbox transfer. You can use methods like drive shipping and network upload to migrate your Outlook PST files to M365. For this, you’d need to decrypt your encrypted PST files before you proceed.
Similarly, you cannot directly migrate OST files to Office 365 as they are bound to the original user profile configured on a system using a MAPIEntryID GUID. Here, you may need to convert it to PST file and then move further with mailbox data migration.
In this article, we’ll explore these methods in detail and will also learn about a powerful third-party PST migrator tool that you can use to migrate password-protected PST and OST files securely to Office 365.
Reasons to Migrate PST Files to Office 365
Listed below are some reasons why IT admins and MSPs migrate PST files to Office 365:
- Office 365 allows admins to store PST files in a centralized location on Microsoft servers, which makes it easier for users to view emails, calendars, and other mailbox items from any device and at any time
- To avoid security breaches or unauthorized access to users’ confidential data in case of cyber attacks
- Stores the mailbox data in the cloud, which makes it easier for users to access their mailbox data anytime, from anywhere, and from any device connected to a stable internet connection
- Consolidating archives or old PST files scattered across devices or network locations allows organizations to meet legal, auditing, eDiscovery, or compliance requirements
Manual Methods to Migrate PST Files to Office 365
Below, we will discuss Microsoft’s Network Upload or Drive Shipping methods to migrate or import encrypted PST and OST files into Office 365. You can choose a method depending on your business requirements and convenience.
Prerequisites:
Before you proceed with the manual methods, here’s what you need to do:
- Remove passwords from the encrypted data file (PST). Launch the Outlook desktop client and go to File > Account Settings > Account Settings > Data Files > select the PST file > Settings > Change Password. Remove the existing password and leave all the fields blank.
- Gather PST files from different locations that you want to migrate into a common location/folder/directory. Verify their contents.
- Take a backup of the original PST files to have a copy of the mailbox data
- In case of OST files, you will need to first convert them to Outlook PST file.
Method 1: Import PST Files to O365 using Network Upload
Network Upload is a method suggested by Microsoft that lets you import PST files from a centralized location to Office 365. Herein, you will use your Microsoft 365 admin credentials to sign in to the Exchange Admin Center (EAC) and create a PST import job. During this process, you will have to use the Azure AZCopy tool (via CMD/PowerShell) to upload the PST files to a temporary Azure storage blob.
When using this method, Microsoft recommends that each PST file should not be >20 GB in size. The reason for this limitation is rather a practical one – very large PST files are susceptible to corruption and may also impact the performance of the import process.
Here are the steps to use the Network Upload method:
Step 1: Assign the Role to a User Account
The first step to migrate PST files to O365 requires you to assign Import Roles and Permissions to a user (or your) account. To do this, you’ll need to log in to the Exchange Admin Center (EAC) using your admin credentials. Then go to Roles > Admin Roles > Organization Management.
Step 2: Create a PST Import Job in Microsoft 365
After this, you need to create a PST import job in the M365 admin center. For this, go to Microsoft Purview and open Data lifecycle management. Then create a New Import Job and name it. Finally, select Network Upload as your preferred method of importing PST files to O365.
Step 3: Upload PST Files to Azure Cloud Storage
After you have selected the Network Upload method, you will get a SAS URL that you need to copy to a text file on your system. This will be used for uploading PST files to the temporary Azure storage using the Azure AzCopy Tool. Here, you need to download this tool and run it via CMD. Then use the commands along with the provided SAS URL to select the PST files from a centralized location and upload them to the temporary Azure blob storage.
Step 4: Verify the Uploaded PST Files (Optional Step)
After the PST upload is finished, you can verify them using Azure Storage Explorer. This is an optional step that you can skip. Here, you need to download and install this tool on the system.
Step 5: Create a PST Mapping File (.csv)
Here, you will have to create a PST import mapping file as a CSV file using MS Excel. To create this file, use the available sample file provided by Microsoft. This is an important step because it specifies the source PST file and the target user mailboxes where they will be imported.
Step 6: Start PST Import Job
Once everything is ready, upload the PST mapping file (.csv) and validate it. Then, follow the on-screen steps to start the PST Import Job. After it is complete, its status will change to Import completed in Data lifecycle management > Import > Progress.
Method 2: Use Drive Shipping to Import PST into Office 365
Drive Shipping is another method that you can use to import PST to Office 365. Here, you will have to locate all the PST files and copy them to a BitLocker-encrypted external hard drive. After that, you’ll have to physically ship the hard drive(s) to a Microsoft data center in your country, where a representative will upload the PST files to Azure Storage. After they have successfully uploaded all the PST files to Azure Storage, you will receive a notification. Then, you have to create a PST Import Job, create a CSV mapping file, and start the PST import process to import PST to Office 365 (similar to Network Upload). Microsoft charges $2/GB or $2000/TB for uploading the PST files.
Limitations of the above manual methods:
- Lengthy and time-consuming processes
- They do not allow users to import OST or encrypted PST files to Office 365
- Internet connectivity issues or bandwidth limitations could interrupt the PST import job using the Network Upload
- Drive Shipping requires physical storage drive(s) to store PST files and ship them to a Microsoft facility. All the expenses, including drive(s) cost, shipping and handling charges, taxes, etc., are to be borne by the organization/IT admin/MSP.
Use a Specialized PST to Office 365 Migration Tool
As Network Upload and Drive shipping don’t allow users to import mailbox data from OST files or encrypted PST files, you can use a specialized PST to Office 365 migrator tool for this. One such tool is Stellar Migrator for Outlook. It is a DIY tool that lets you migrate encrypted PST files or OST files of any size to the target user mailboxes in Office 365 with ease. The tool preserves the original mailbox folder structure and hierarchy in the target mailboxes in O365 by migrating mailboxes with 100% accuracy and precision.
The tool utilizes the Microsoft Modern Authentication protocol to establish a secure connection with Office 365, which ensures safe and secure PST file migration. Additionally, you can use this tool to export PST file data to a live Exchange Server, an existing Outlook profile, or a new PST file.
Stellar Migrator for Outlook comes with a pay-per-use plan, which means you will have to pay only for the number of PST files or mailboxes you want to migrate to Microsoft 365.
Now, let’s see the step-by-step process to import PST files into Office 365 using this PST to Office 365 migration software:
- Install the Stellar Migrator for Outlook software on your Windows system after purchasing the license.
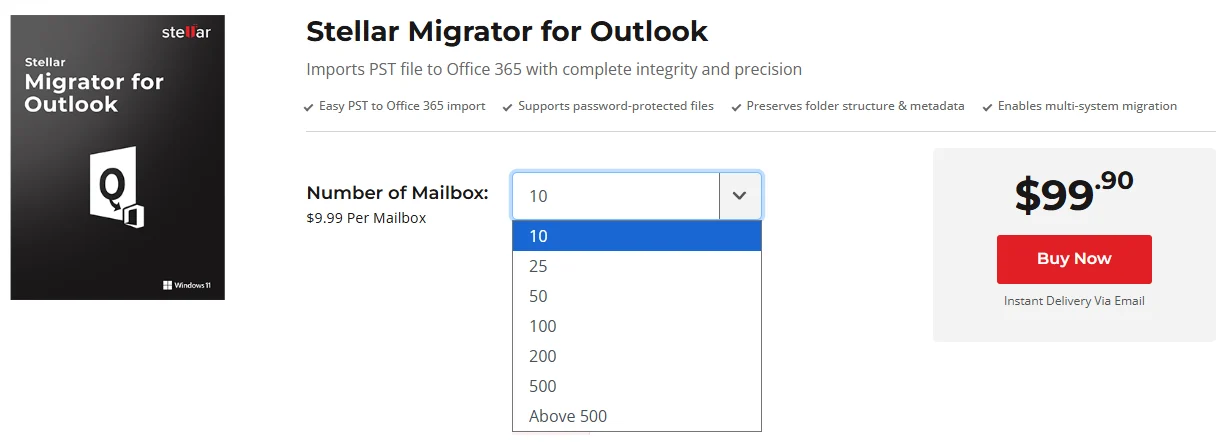
- Launch the software.
- You will see the Create migration job Enter the Job name and choose the Select whether single or multiple mailboxes have to be migrated option. Click Next.
Note: If you have a CSV file of already mapped mailboxes, choose the Migrate mailboxes using CSV option.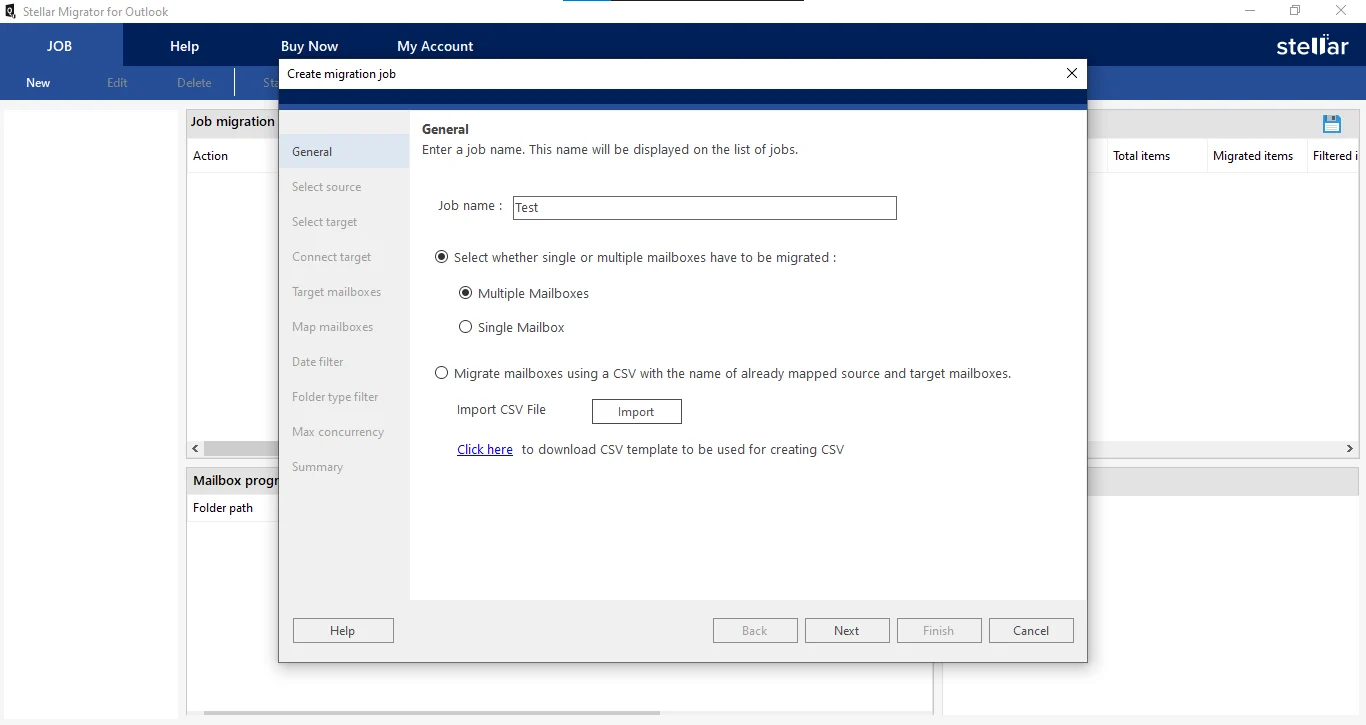
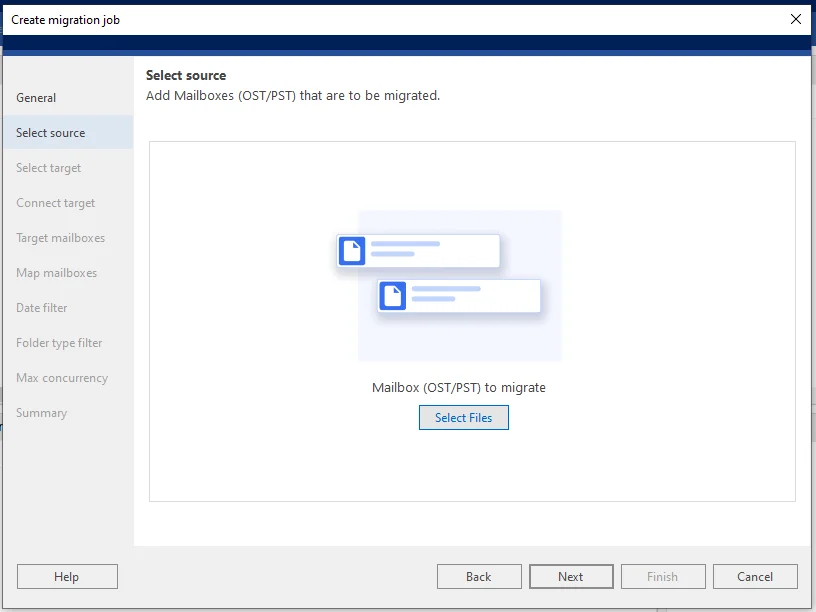
- Next, you will see the Select source Click on Select Files to choose the PST files you want to import. Click Next.
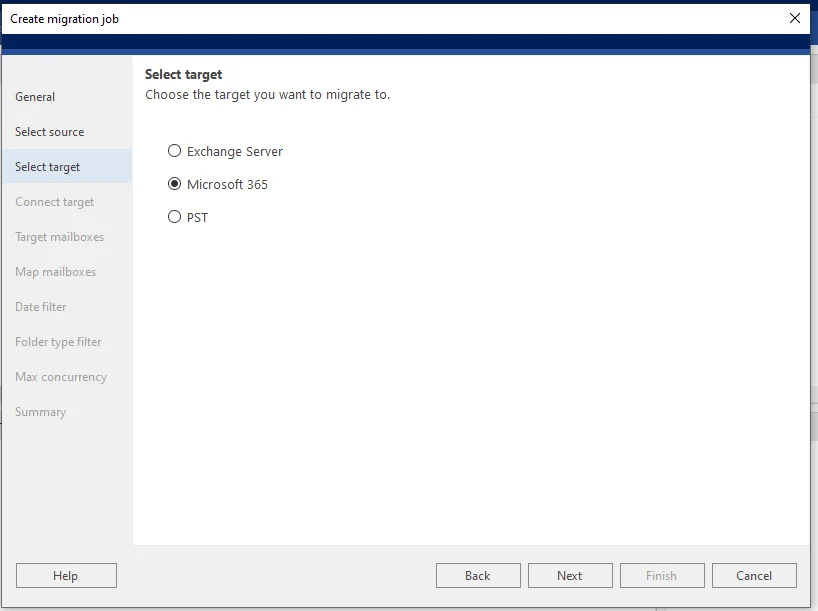
- The Select target screen will appear. Choose the Microsoft 365 option and click Next.
- Now, the Connect Target window will appear. Choose either Auto Registration or Manual Registration.
- Auto Registration – It allows you to automatically connect to Microsoft 365 by using the Global Admin credentials.
- Manual Registration – It requires you to enter the details, such as Email Address, Application (Client) ID, Directory (Tenant) ID, and Client Secret Value. Click on Validate after that.
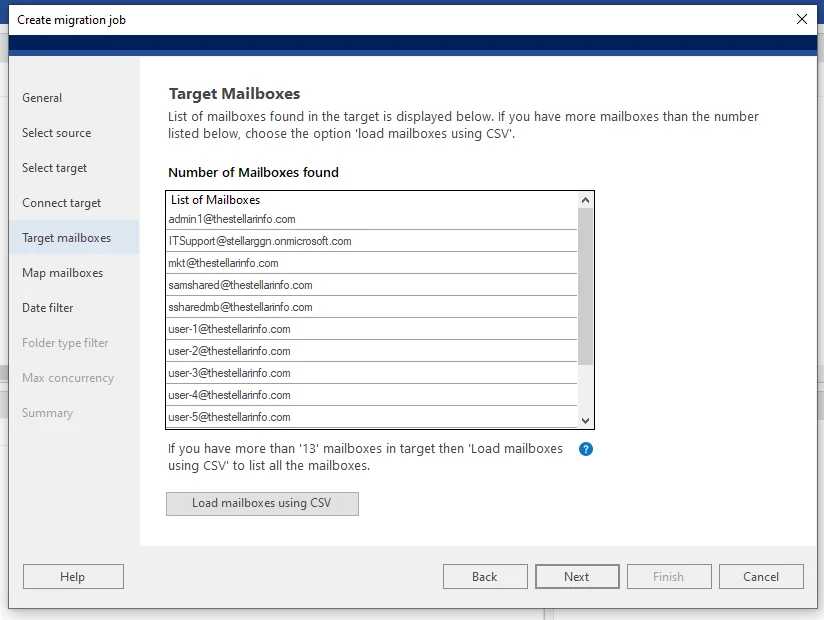
- After successful connection, the software will display a list of Target mailboxes found on Office 365 (target server). You can preview and validate the mailboxes. Then, click Next.
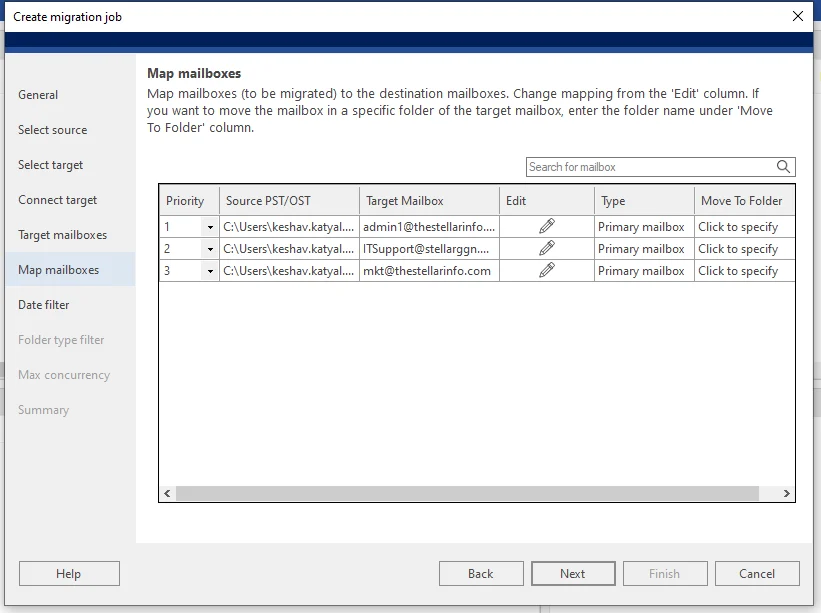
- The software will show the Map mailboxes You can change the mailbox mapping from the Edit column. If you want to migrate PST file data to a specific folder, use the Click to specify option. Click Next.
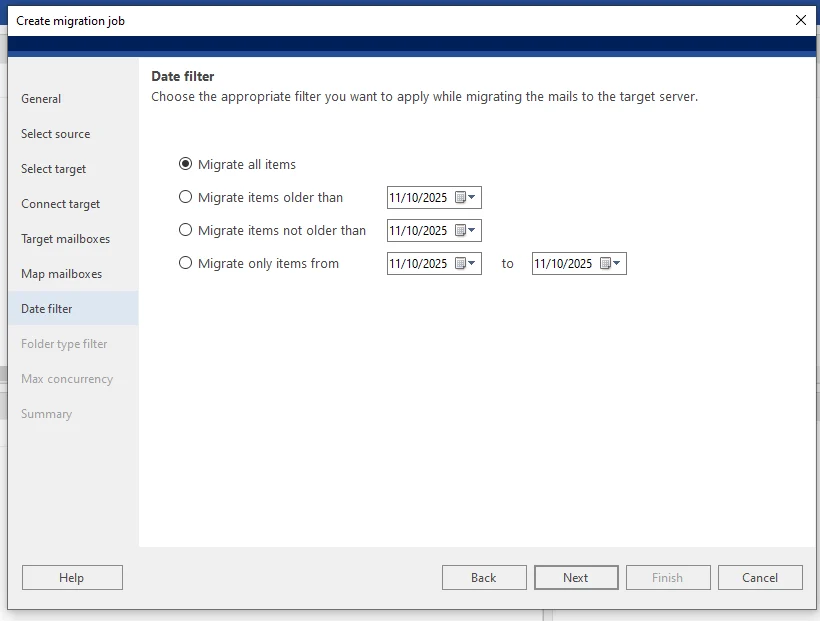
- The Date filter screen will appear. Choose a date filter option and click Next.
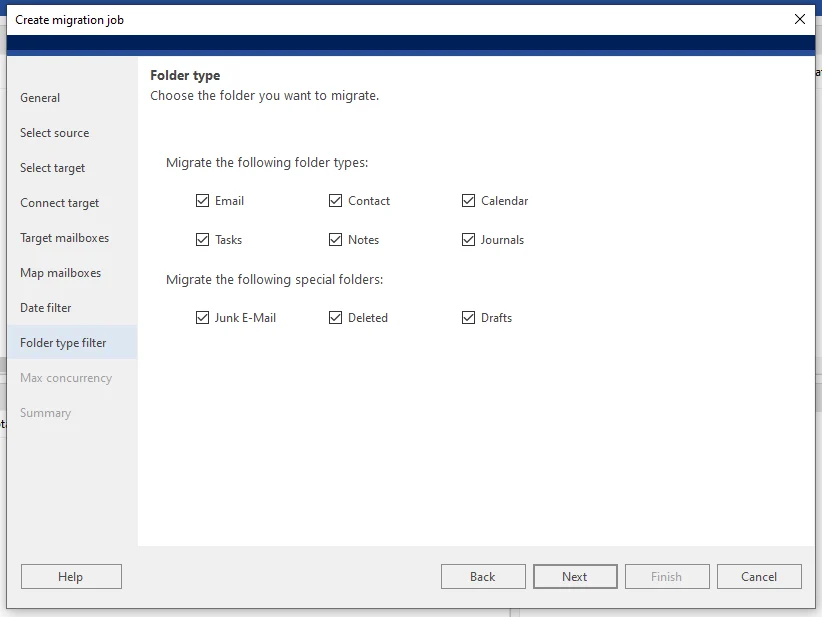
- The Folder type window will appear. Select the folders you want to migrate. By default, all mailbox folders are selected. Click on Next.
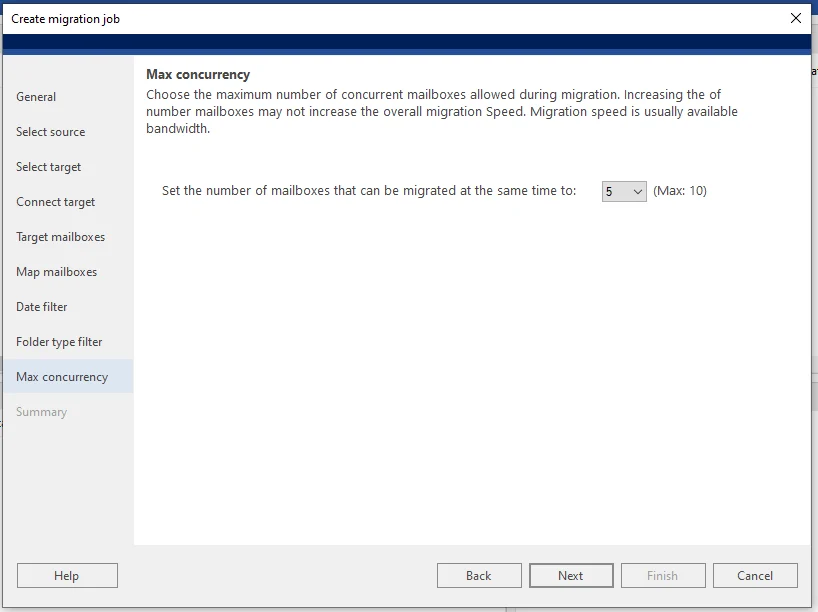
- You will see the Max concurrency Use the drop-down list to select the number of mailboxes to be migrated simultaneously. You can select a maximum of 10 mailboxes. Click Next.
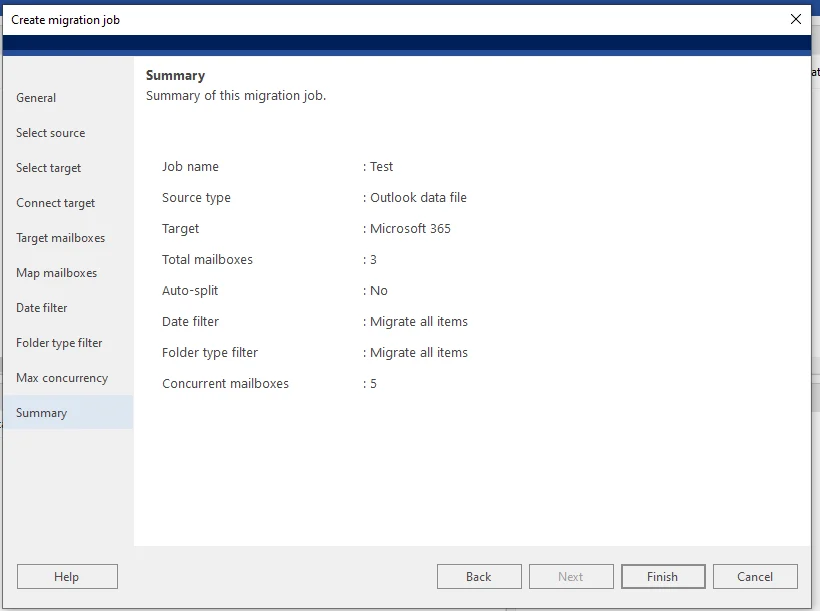
- The Summary window will appear. Review all the selected parameters before creating the job.
- After you have reviewed the selections, click on Finish.
- You will see the Job created dialog box. Click OK.
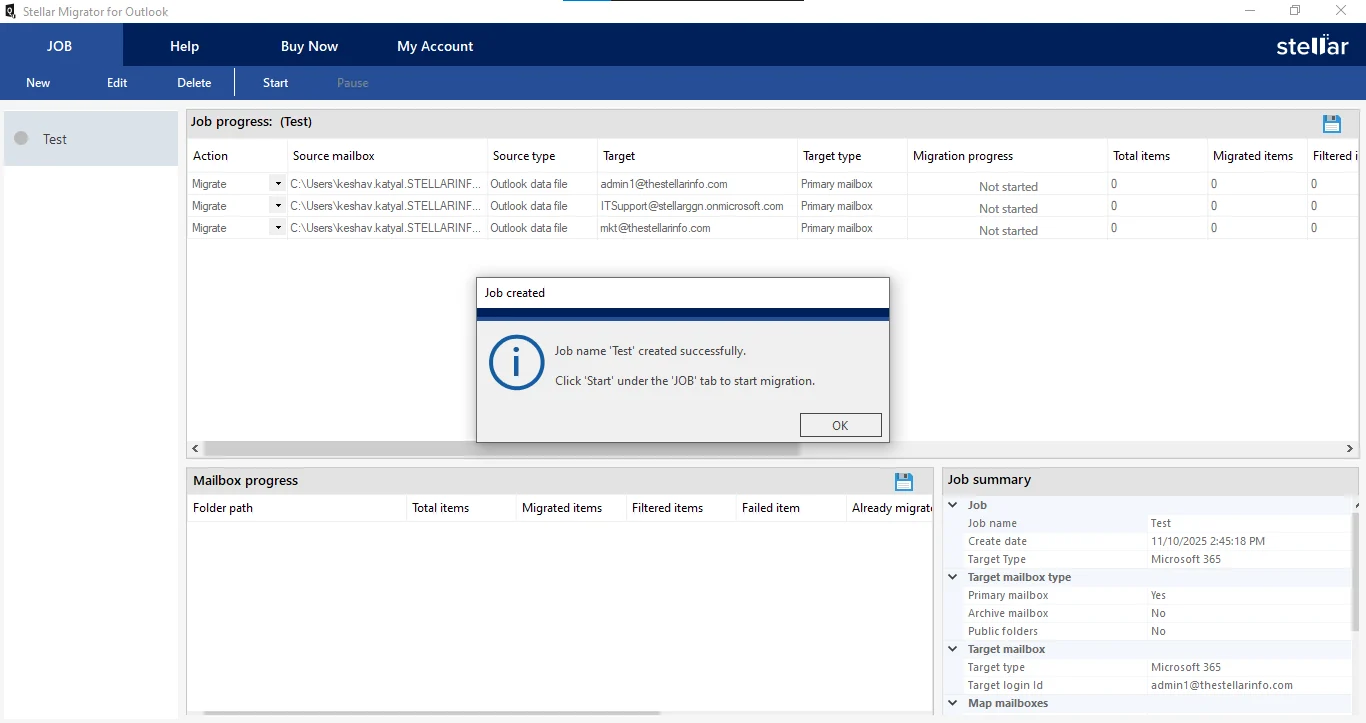
- After this, click on Start in the ribbon to initiate the import process.
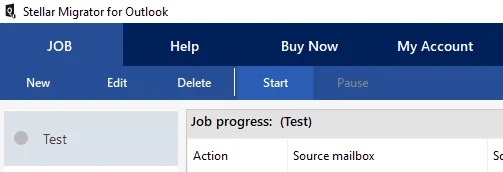
- Next, click on Connect to login to the licensing server.
- After the connection is established, the software will begin importing the PST files into Office 365.
Once the import process is completed, you will see the Completed status in the Mailbox progress window.
Conclusion
If you want to migrate PST files to Office 365, you can follow the methods suggested by Microsoft – Network Upload and Drive Shipping. These methods, however, are tedious, time-consuming, and resource- intensive. Moreover, they cannot directly migrate either encrypted PST files or OST files to the target location.
For migrating OST and encrypted PST files, you can use a specialized migration tool, like Stellar Migrator for Outlook. It helps you directly migrate PST files to Office 365 safely without decrypting PST files or converting OST to PST beforehand.