How to install OpenVAS 9 on Ubuntu

Installing OpenVAS 9 on Ubuntu
If you install OpenVAS in an Ubuntu virtual machine, I recommend adding as many CPUs as possible to speed up the scan. The recommended minimum is 8GB of memory and 4 cores. The latest version of OpenVAS mentioned in the interesting new feature is a large-scale deployment of distributed systems. The latest version of OpenVAS has a central console to delegate scans to multiple scanners, which is a good architecture for those who want to scan a lot of goals.
Install OpenVAS
The first step is to add the PPA source to us, where I installed OpenVAS with a newly installed ubuntu service and you can install it with the add-apt-repository
root@ubuntu:~# add-apt-repository ppa:mrazavi/openvas
Update and install the package
root@ubuntu:~# apt update
root@ubuntu:~# apt install sqlite3
root@ubuntu:~# apt install openvas9
PDF format results need an extra few packages.
root@ubuntu:~# apt install texlive-latex-extra –no-install-recommends
Now we install some extra fonts that are more beautiful for our PDF output documentation
root@ubuntu:~# apt-get install texlive-fonts-recommended
The libopenvas9-dev package installs the OpenVAS-nasl program, which allows you to run a single OpenVAS nasl script for quick checking and troubleshooting, and then we synchronize database vulnerability data via sync
root@ubuntu:~# apt install libopenvas9-dev
root@ubuntu:~# greenbone-nvt-sync
root@ubuntu:~# greenbone-scapdata-sync
root@ubuntu:~# greenbone-certdata-sync
Open the openvas-scanner
root@ubuntu:~# service openvas-scanner restart
Next, we restart the openvas-manager and rebuild the cache
root@ubuntu:~# service openvas-manager restart
root@ubuntu:~# openvasmd –rebuild –progress
Rebuilding NVT cache… done.
If you have any problems during the installation process, you can find it in the log file
/var/log/openvas
/var/log/openvas/gsad.log
/var/log/openvas/openvasmd.log
/var/log/openvas/openvassd.dump
/var/log/openvas/openvassd.messages
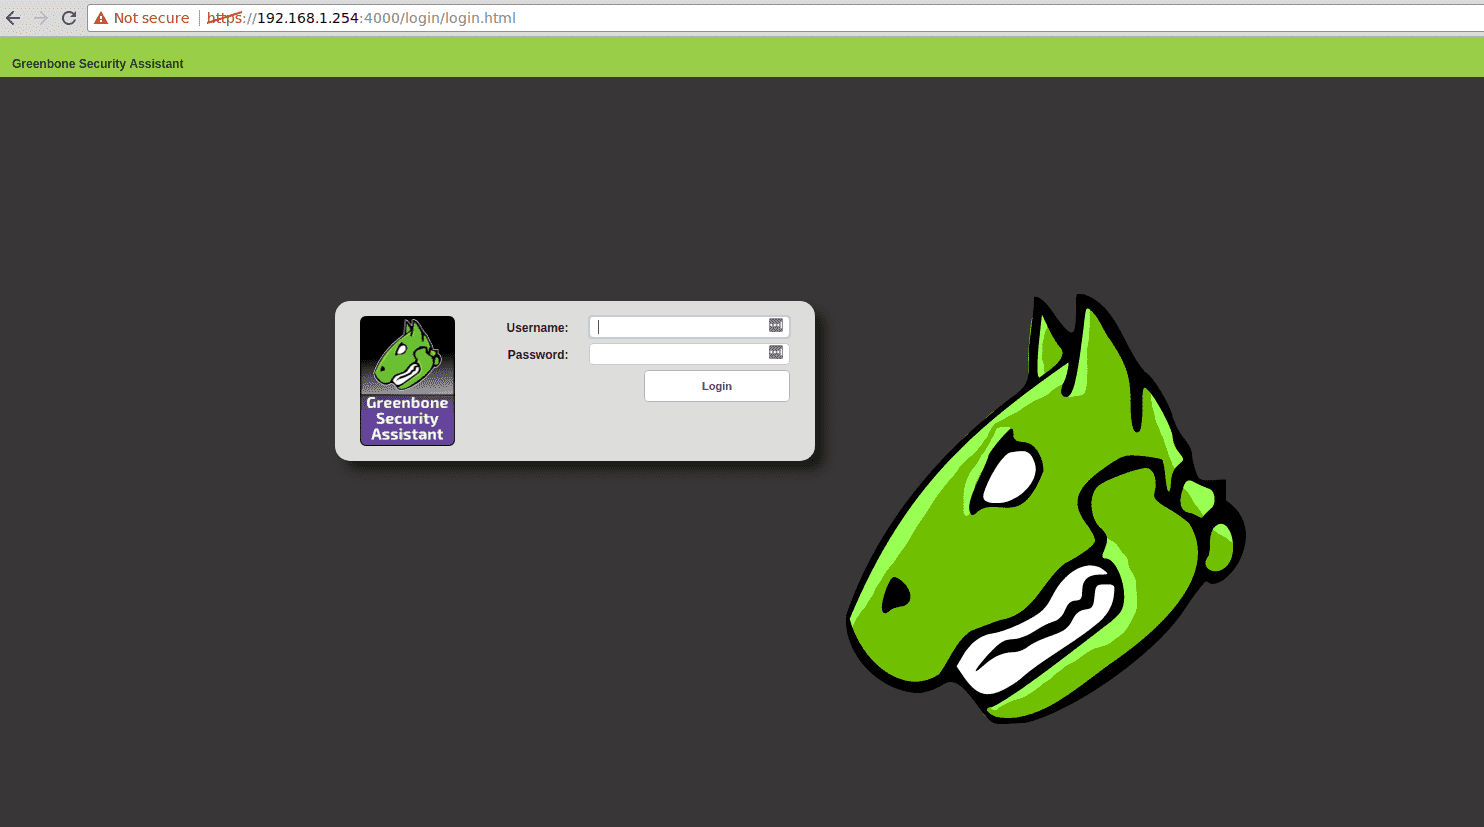
We now access our OpenVAS through the web, the default user password is admin/admin
Usage OpenVAS
After completing the installation and synchronizing the vulnerability, we can log in to the web interface by using the default credentials
1. Add a target
In the web interface, select Configuration | Targets to add a target, note that the upper left corner of the small star icon is “add” button.
2. Add a task
Select Scans | Tasks to add a new task, for the first scan, you can use the default value, just select your target in the first step and click to create
3. Start scanning
Now just press the play button to start the scan, once the scan is complete. You can view the results under Scans | Reports, the results can be html/xml/pdf format output, of course, you can also view the scan on the web interface results


