tknk_scanner v1.2 BHEU Edition Releases: Community-based integrated malware identification system

tknk_scanner
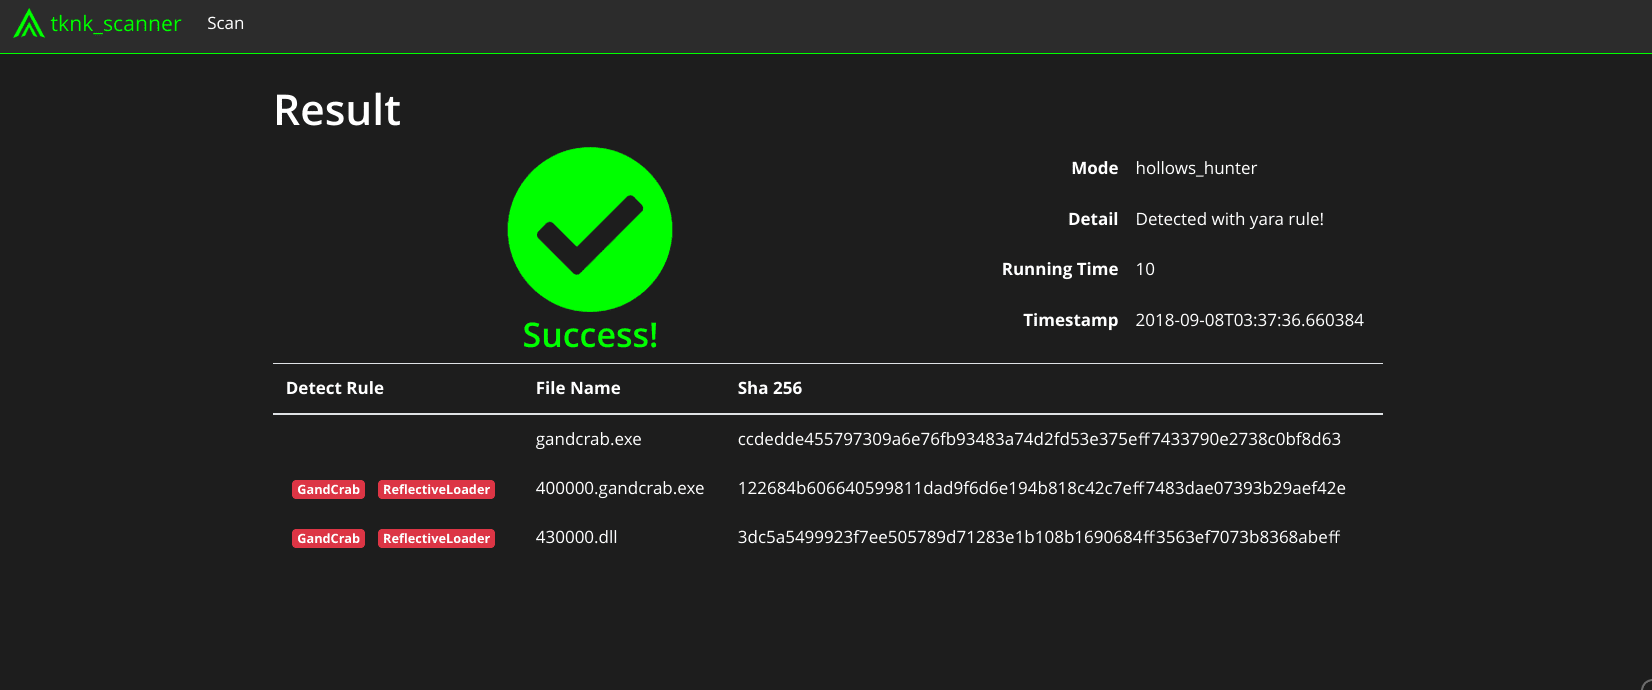
The original code of a malware must be scanned using YARA rules after processing with a debugger (or other means) to account for obfuscated malware binaries. This is a complicated process and requires an extensive malware analysis environment. The tknk_scanner is a community-based integrated malware identification system, which aims to easily identify malware families by automating this process using an integration of open source community-based tools and freeware. The original malware code can be scanned with your own YARA rules by submitting the malware in PE format to the scanner. tknk_scanner can thus support surface analysis performed by SOC operators, CSIRT members, and malware analysts.

Features
- Automatic identification and classification of malware
- Scan the original code of malware with yara.
- Dumps original code of malware
- You can easily get the original code.
- Community-based
- Integrates multiple Open Source Software and free tools
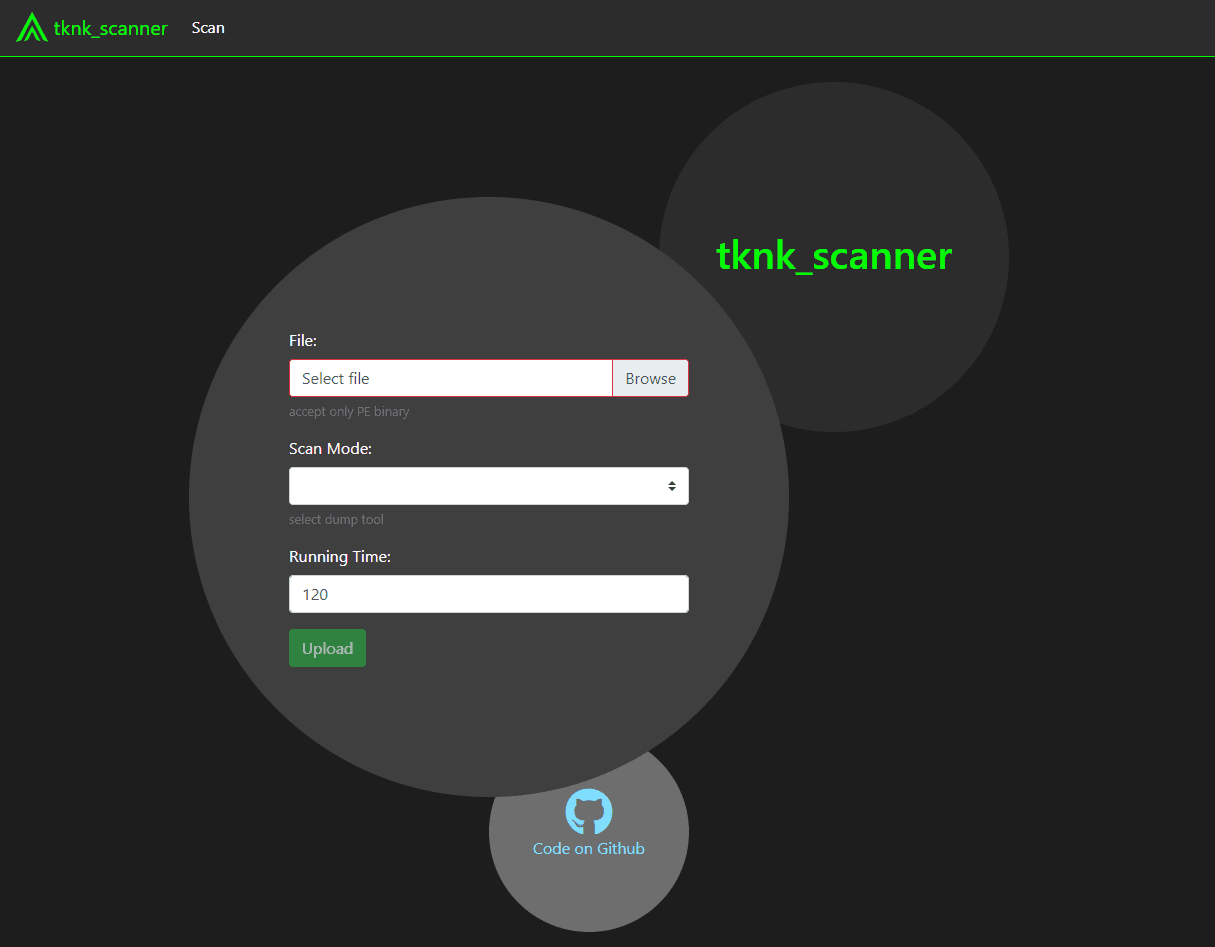
- User-friendly Web-UI
- Users can submit malware and check scan results using the Web-UI.
Changelog v1.2.0
- add swagger
Installation
Preparing the Host
- git clone –recursive https://github.com/nao-sec/tknk_scanner.git
- sudo setup/setup.sh
- Edit tknk.conf
- vm_name
- Virtual Machine name
- vm_url
- URL of xmlrpc_server.py
- e.g. http://192.168.122.2:8000/
- virus_total
- If VT use, set to 1
- vt_key
- Your VT API KEY
- Download Malware characterization tools
- avclass
$ git submodule update
- Detect It Easy
- Download zip from https://ntinfo.biz/
- Extract zip(Linux Ubuntu 64-bit(x64)) to tknk_scanner/
- Rename folder name die
- Download and copy dump tools to tools/
hollows_hunter.exe
pe-sieve.dll
procdump.exe
Scylla.dll
- Set yara rules
Save yara rules in “rules” folder. You need to add the rule to index.yar.
Preparing the Guest
- Install Windows on KVM
- Turn off Windows Defender and Windows SmartScreen
- Install Python 3.6
- Set to the IP address described in vm_url.
- Copy and run xmlrpc_server.py
- Make snapshot
Setting Web-UI
Usage
Run ./manager.py
Access to http://localhost:80
- File upload
Upload the file to be scanned. - time
Sets the time to start running dump tools. The default is 120 seconds. - mode
- hollows_hunter
Using hollows_hunter. - prodump
Using procdump. - scylla
Using Scylla. - diff(procdump)
- hollows_hunter
Copyright (c) 2018 nao-sec
Source: https://github.com/nao-sec/


