zenected: Zenected Threat Defense VPN

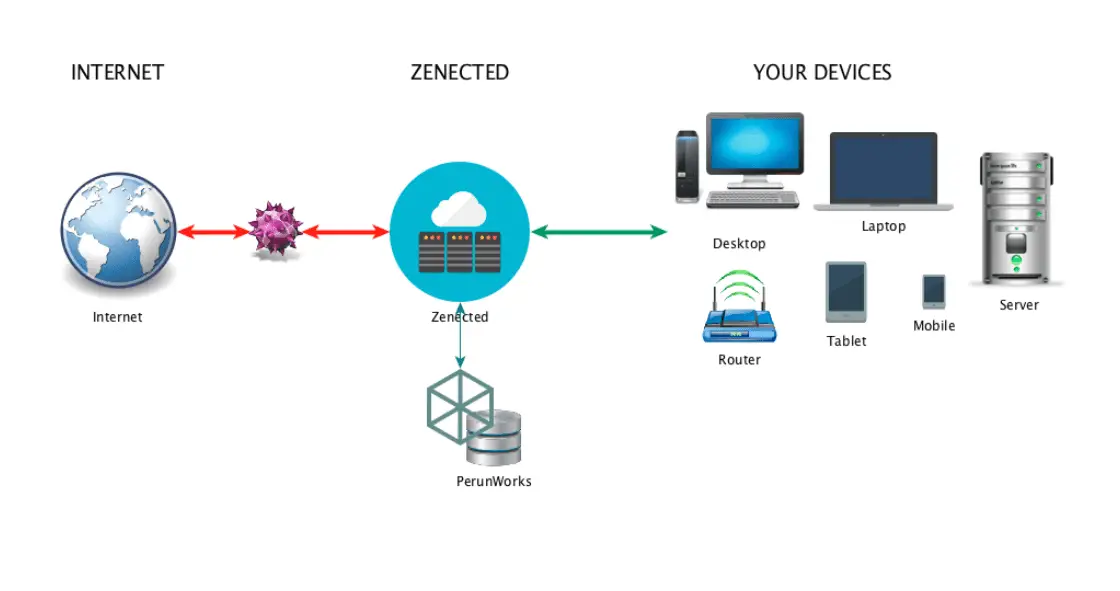
Zenected is a cloud-based security threat protection service. It’s delivered through a set of pre-configured services. Once a user connects to the Zenected, that user’s network traffic is filtered to keep the bad things out (e.g. phishing sites, malware). The only thing this a user has to configure on the endpoint device (be it a mobile device, a desktop or laptop or IoT device) is a VPN connection.
All services are updated every hour with a new set of threat indicators prepared by Perun Works.
Zenected is easy to manage. It uses a web front-end for administrators to manage your instance. An administrator user can:
- manage Zenected users including adding more admin users
- blacklist URLs or domain names that you don’t want your users to access
- whitelist URLs or domain names, that were identified as malicious but you still want your users to be able to get to them
- review exception requests from users
If you are a Zenected end-user what you will like about it, is:
- no need to install additional software on your mobile phone, tablet or laptop – Zenected uses standard OS features built-in into all modern systems
- if you encounter a certain resource blocked by the system, you can request an exception. Each exception is then reviewed by an administrator.
For more info and resources visit: https://zenected.com
Requirements
- Host running Ubuntu 14.04 LTS. You can use the mini install (https://help.ubuntu.com/community/Installation/MinimalCD)
- If you plan to run it at home, please make sure you have a routable IP address. If you are not sure about it, please ask your ISP for help.
- Make sure you open the following ports on your router:
tcp 80(webserver),tcp 443(webserver – user admin and Zenected admin),udp 500(VPN),udp 4500(VPN)
Installation
It’s fairly simple but requires a few steps.
- Copy the zenected_install.sh into your future Zenected server to /opt folder.
- Make the file executable by:
sudo chmod 750 /opt/zenected_install.sh - Run it:
sudo /opt/zenected_install.sh - Relax for a few minutes. Now it’s a good time to grab a coffee. The install will take a few minutes depending on your system specs.
- Once the script finishes, check if Zenected got installed by:
dpkg -s zenected-aws - If the zenected package is not installed, you can install it by:
sudo apt-get install zenected-aws - Once zenected is installed on your system, please configure it by running:
sudo /opt/zenected/zenected_setup.zenx
Copyright (C) 2017 perunworks
Source: https://github.com/perunworks/


