Offensive ELK: Elasticsearch for Offensive Security
Traditional “defensive” tools can be effectively used for Offensive security data analysis, helping your team collaborate and triage scan results.
In particular, Elasticsearch offers the chance to aggregate a multitude of disparate data sources, query them with a unified interface, with the aim of extracting actionable knowledge from a huge amount of unclassified data.
A full walkthrough that led me to this setup can be found here.
Download
- Clone this repository:
❯ git clone https://github.com/marco-lancini/docker_offensive_elk.git
- Create the _data folder and ensure it is owned by your own user:❯ cd docker_offensive_elk/
❯ mkdir ./_data/
❯ sudo chown -R <user>:<user> ./_data/
- Start the stack using docker-compose:docker-elk ❯ docker-compose up -d
- Give Kibana a few seconds to initialize, then access the Kibana web UI running at http://localhost:5601.
- During the first run, create an index.
- Ingest nmap results.
Usage
Create an Index
- Create the nmap-vuln-to-es index using curl:
❯ curl -XPUT 'localhost:9200/nmap-vuln-to-es'
- Open Kibana in your browser (http://localhost:5601) and you should be presented with the screen below:
- Insert nmap* as index pattern and press “Next Step“:
- Choose “I don’t want to use the Time Filter“, then click on “Create Index Pattern“:
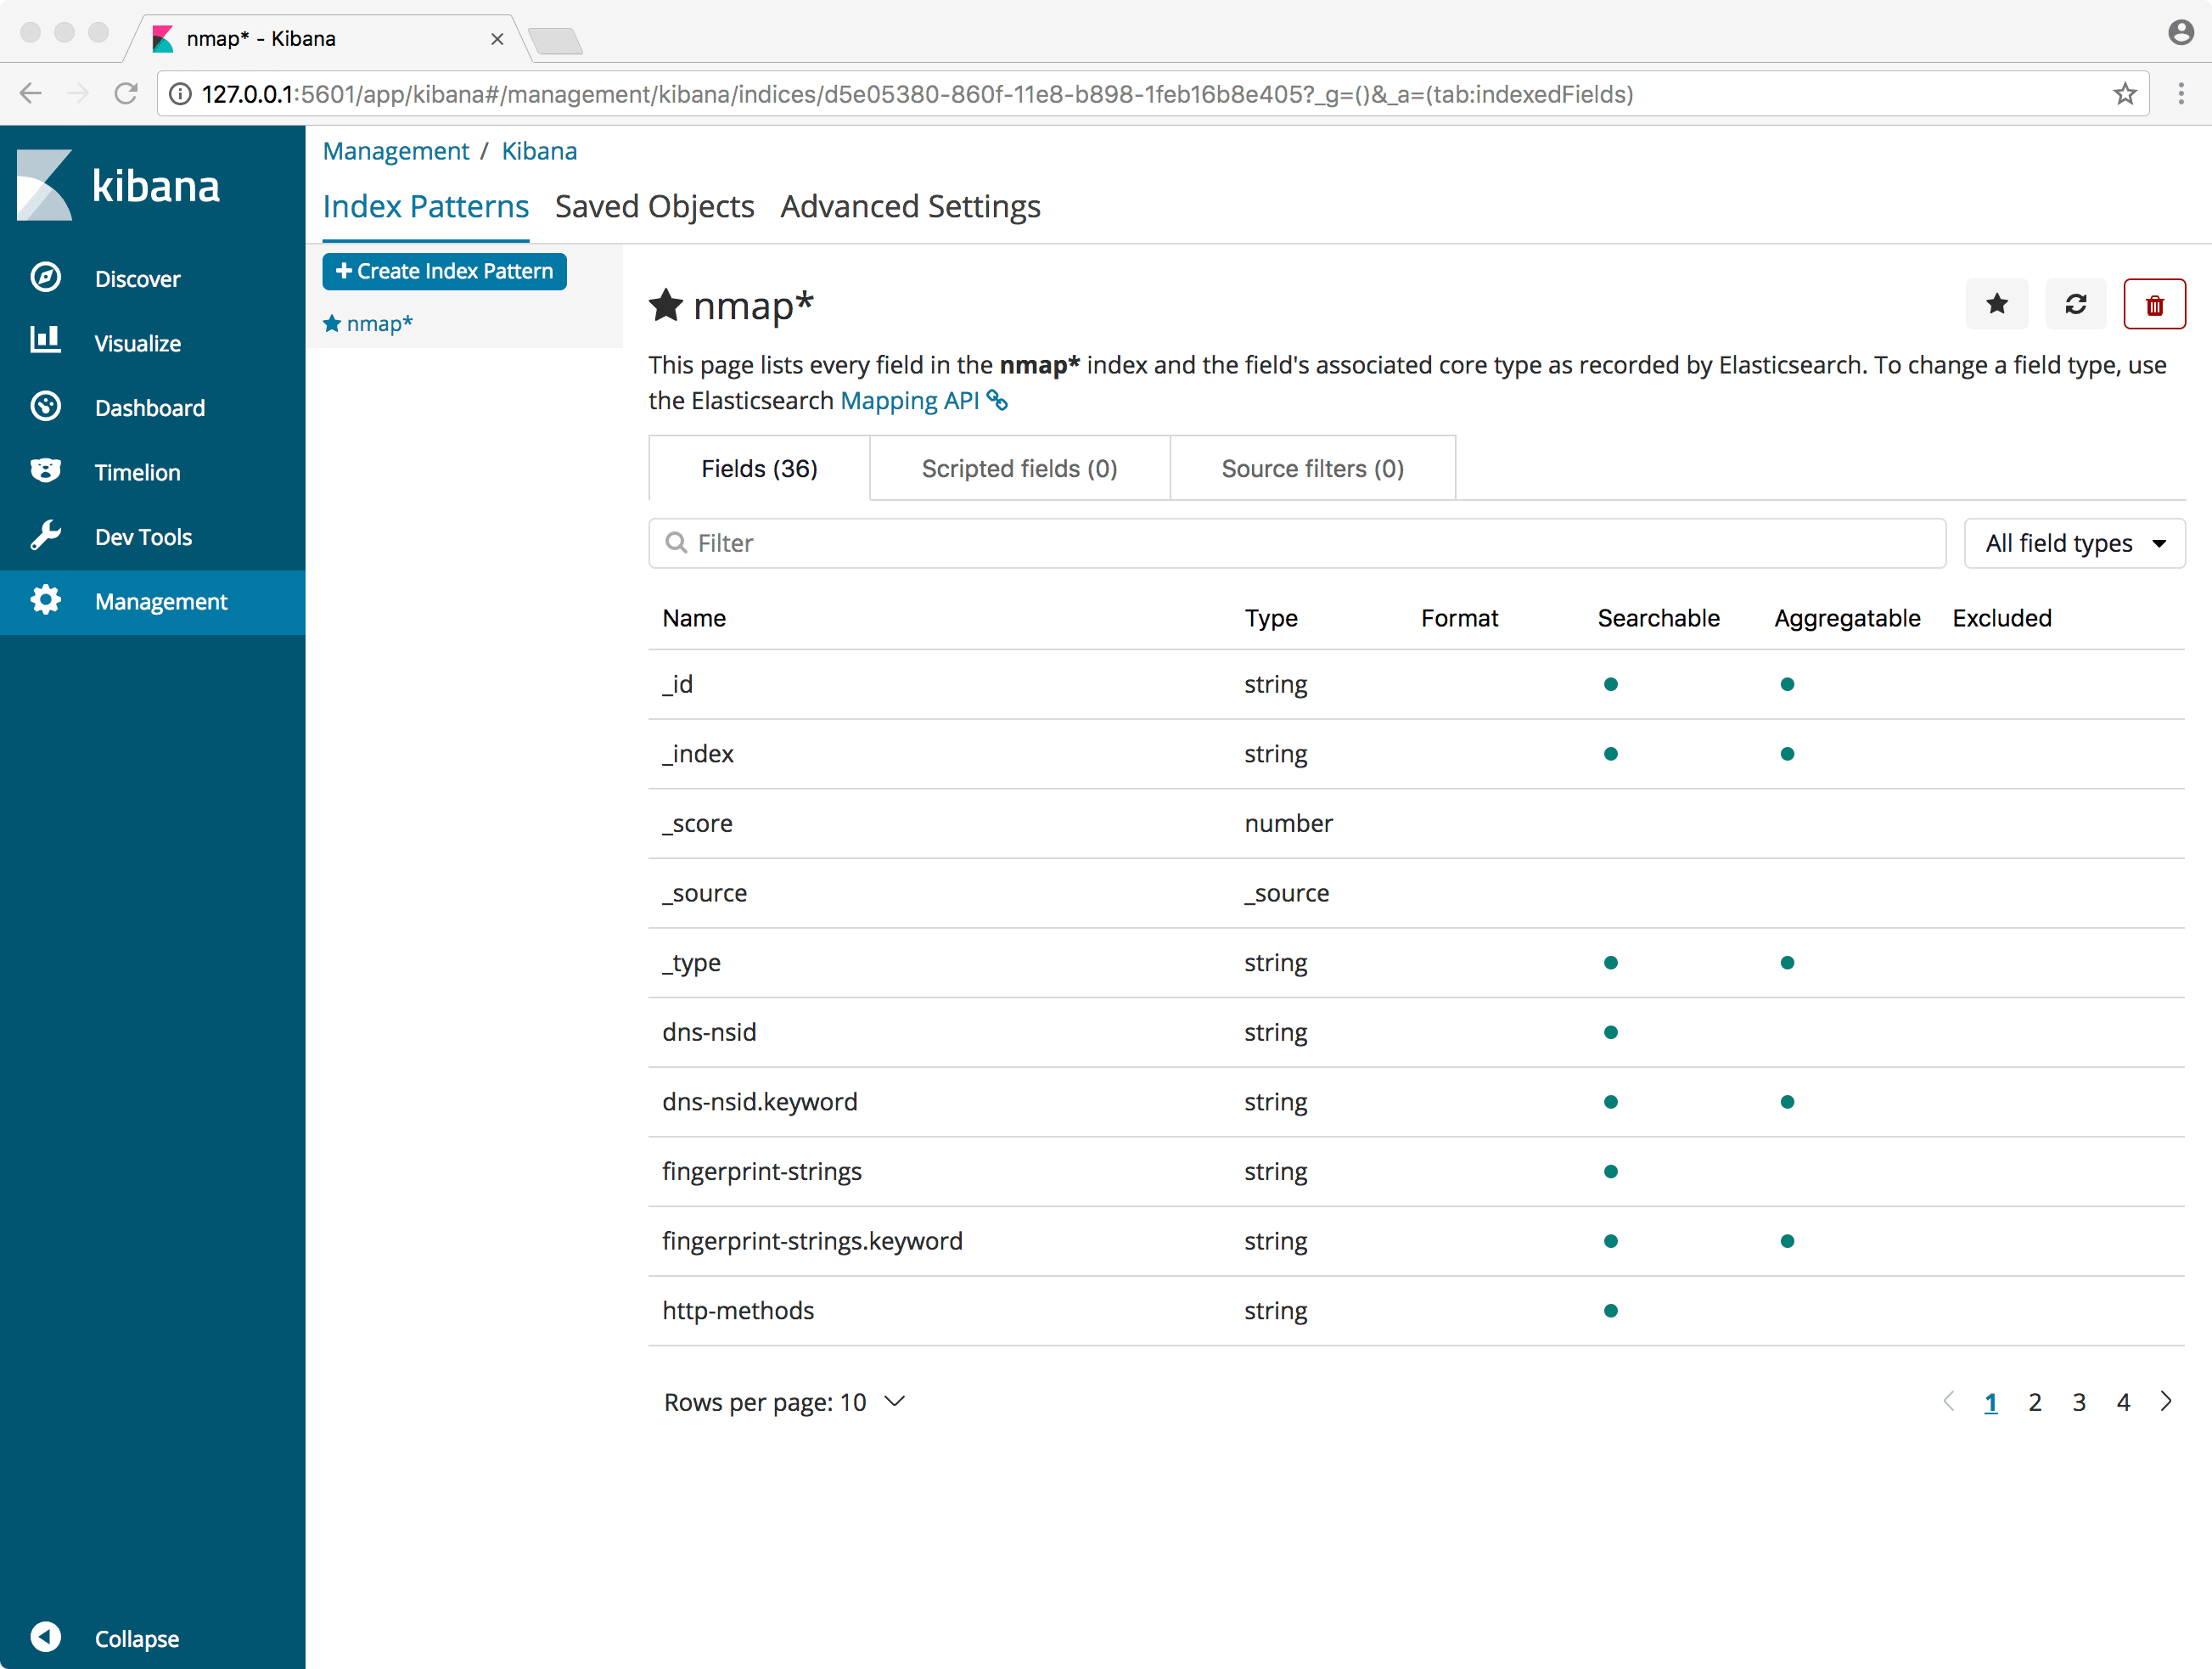
- If everything goes well you should be presented with a page that lists every field in the nmap* index and the field’s associated core type as recorded by Elasticsearch.
Ingest Nmap Results
In order to be able to ingest our Nmap scans, we will have to output the results in an XML formatted report (-oX) that can be parsed by Elasticsearch. Once done with the scans, place the reports in the ./_data/nmap/ folder and run the investor:
Copyright (c) 2018 Marco Lancini
Source: https://github.com/marco-lancini/